Creating Connections in Oracle OIC – Step-by-Step Guide (Part 1)
Introduction
In this session, the focus shifts from theory to practical implementation. The trainer continues from Session 1 and demonstrates how to build a real integration scenario using Oracle Integration Cloud (OIC).
The objective is to understand how multiple systems communicate and how OIC acts as a middleware to synchronize data across systems.
Understanding the Use Case
The trainer defines a real-world scenario:
To understand how Oracle Integration Cloud (OIC) works in a real-world scenario, consider a business environment where multiple systems need to stay in sync. The OIC full form in Oracle is Oracle Integration Cloud, a platform designed to simplify modern integration challenges.
In this example, a customer operates across different platforms such as a database, a Fusion application, and an FTP server. Whenever a new record-such as a supplier-is created in one system (the database), it must be reflected across other systems to maintain consistency. This is where integrated Oracle Cloud capabilities play a crucial role in ensuring seamless data flow.
Oracle Integration Cloud (OIC) acts as a middleware layer that enables seamless communication between these systems. Instead of building complex custom integrations using code or third-party tools like MuleSoft or Dell Boomi, Oracle Integration Cloud Service provides a low-code framework with pre-built adapters, making the implementation faster and more efficient. Oracle manages security, eliminating the need for developers to handle it separately. This makes Oracle Integration Cloud (OIC) a preferred choice for enterprise integration.
Use Case Flow
In this scenario, supplier data is first created and stored in a database. These records are initially marked with a “Draft” status, indicating that they are new and yet to be processed. The entire flow is executed within an OIC instance, which acts as the runtime environment for integration.
Oracle integration is designed to pick only those records that are in Draft status. Once triggered, the integration performs the following actions:
Extracts structured data from the database
Transforms the data into the required format
Generates a file and uploads it to an FTP server
Sends the same data to the Fusion application using REST APIs
As a result, the same supplier record becomes available across all systems. This entire process is executed within an Oracle integration cloud OIC instance, ensuring centralized control and monitoring of integrations.
- Data is created in one system (Database)
- That data must be:
- Sent to Fusion (Supplier creation)
- Stored in FTP server (file format)
This ensures that all systems remain in sync.
Systems Involved
- Database (Oracle ATP)
- Fusion Application (SaaS)
- FTP Server
OIC acts as the integration layer connecting all three.
Solution Flow
- Insert data into Database
- OIC reads new records (Draft status)
- Transform data
- Upload file to FTP
- Send data to Fusion via REST API
- Update database status to Completed
Demo Execution (Trainer Walkthrough)
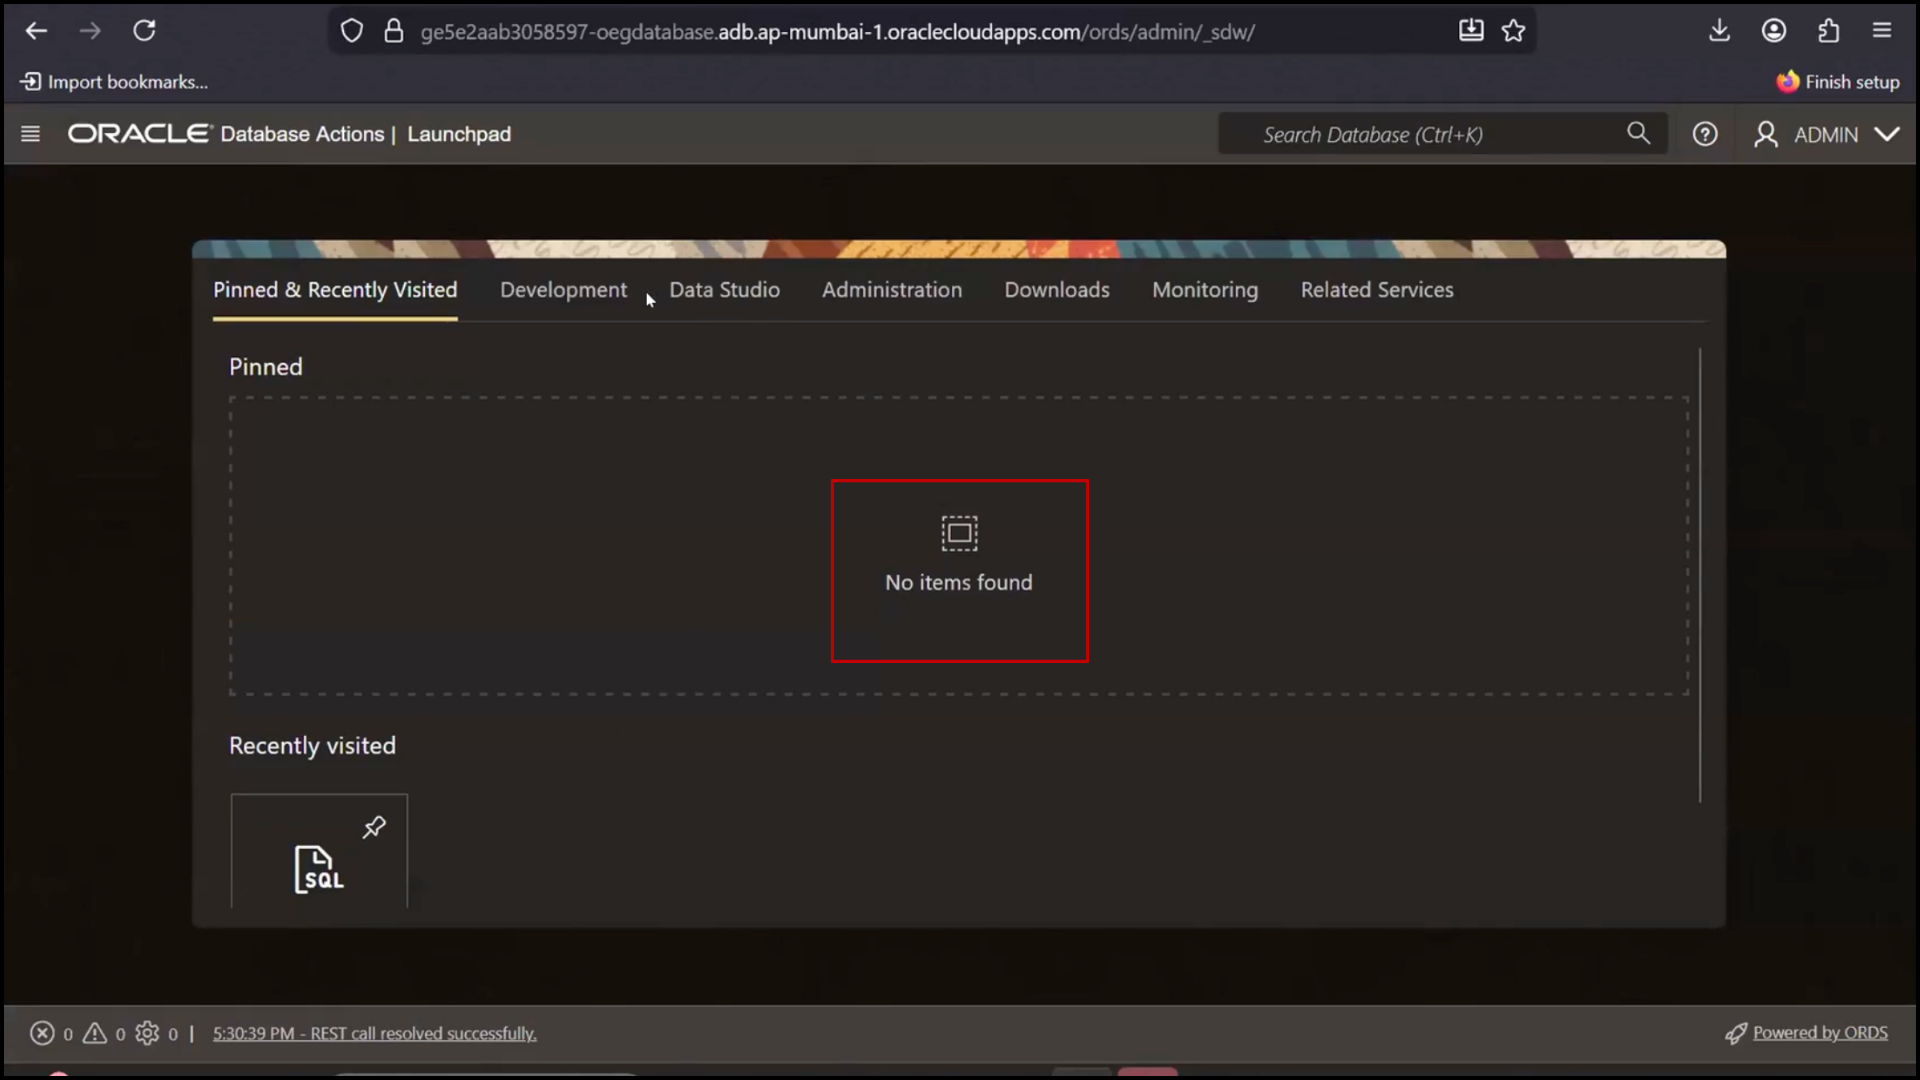
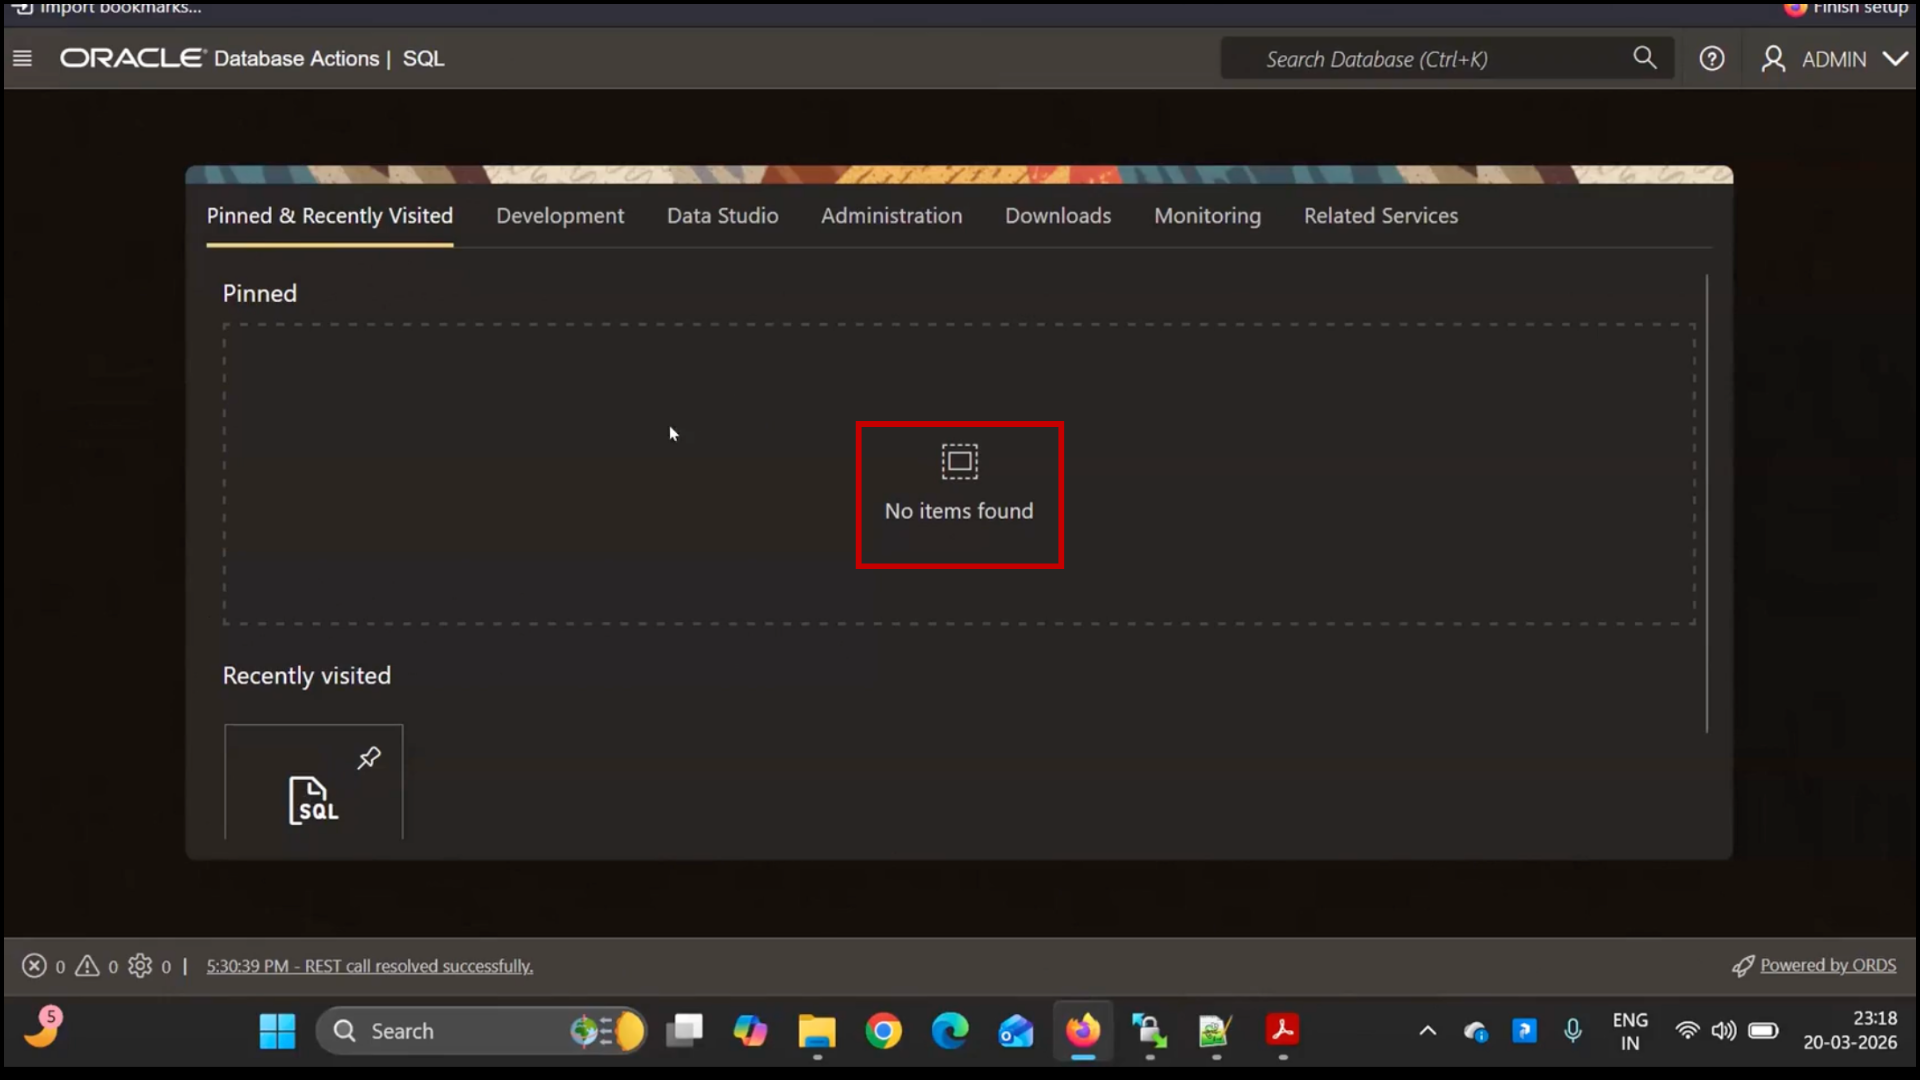
Step 1: Open Database
- Open SQL tool
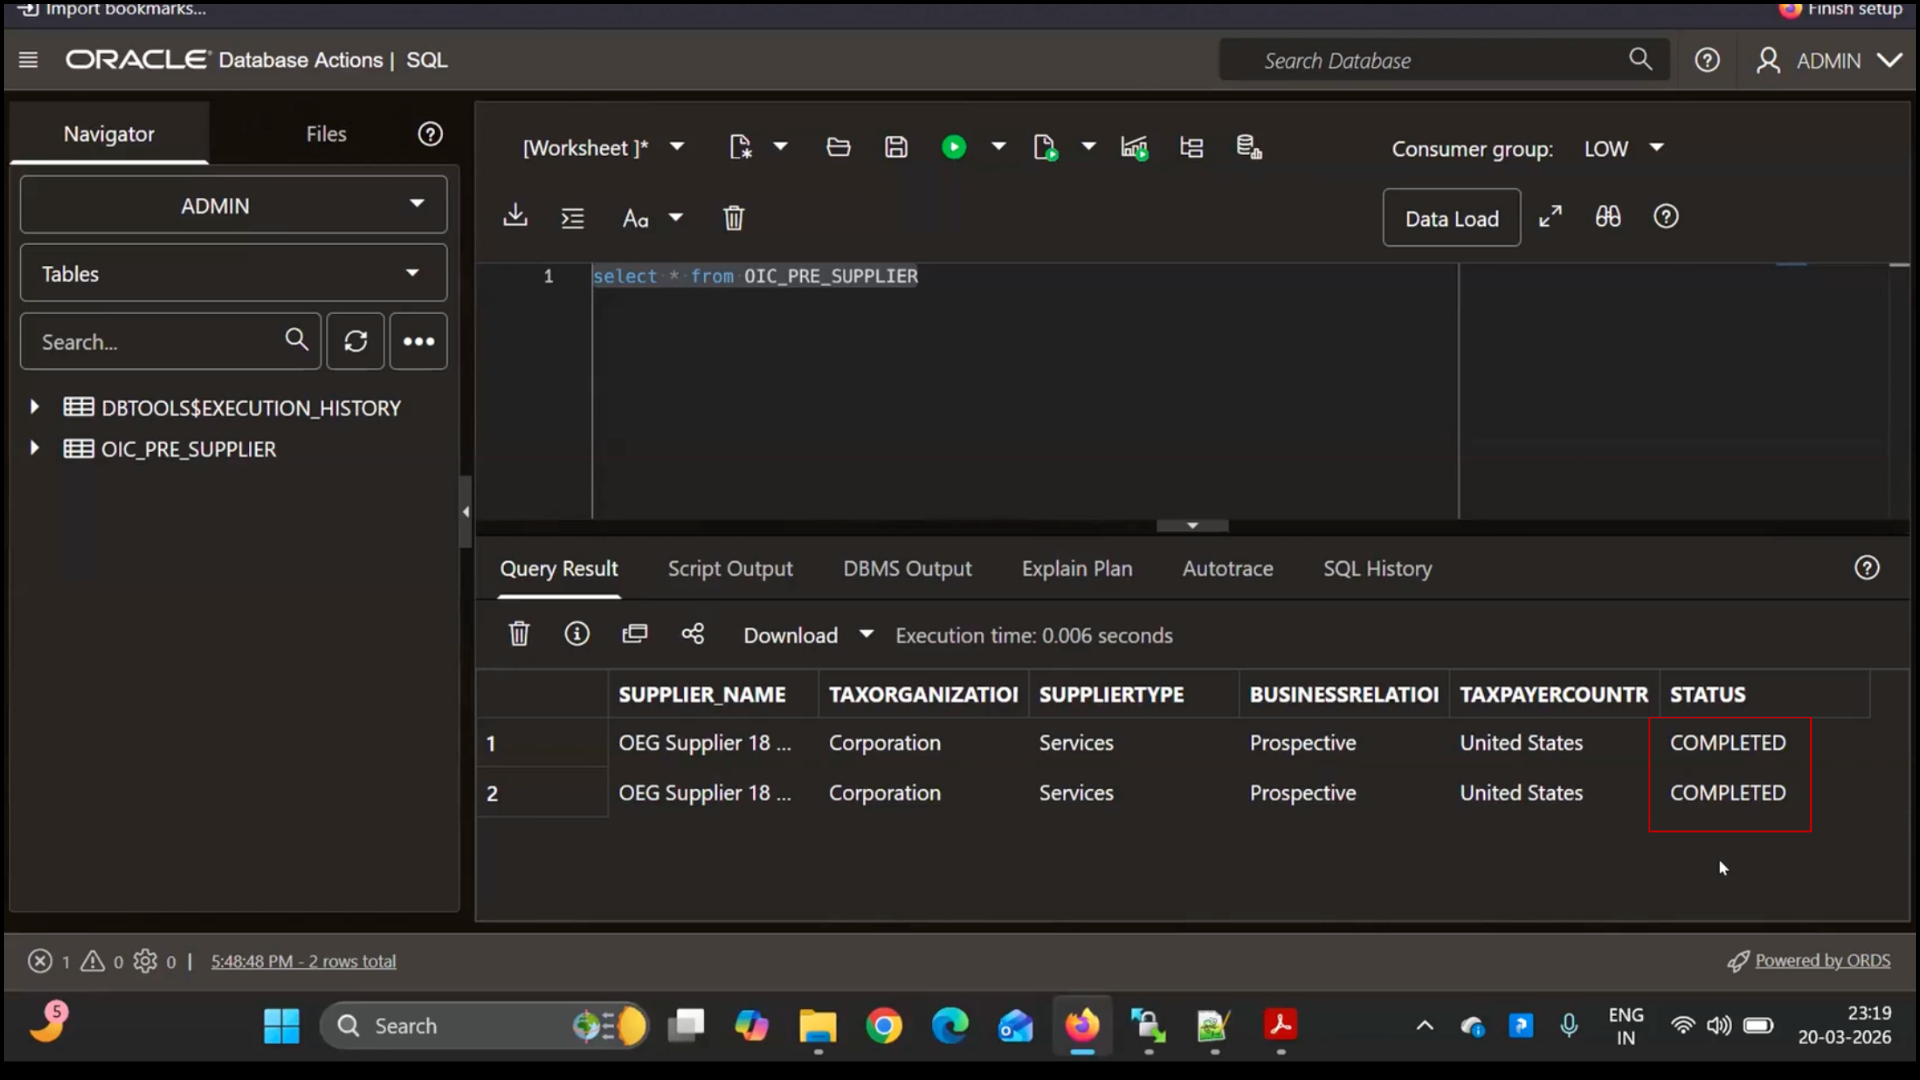
- select * from OIC_pre;
- Active status:
- Run query:
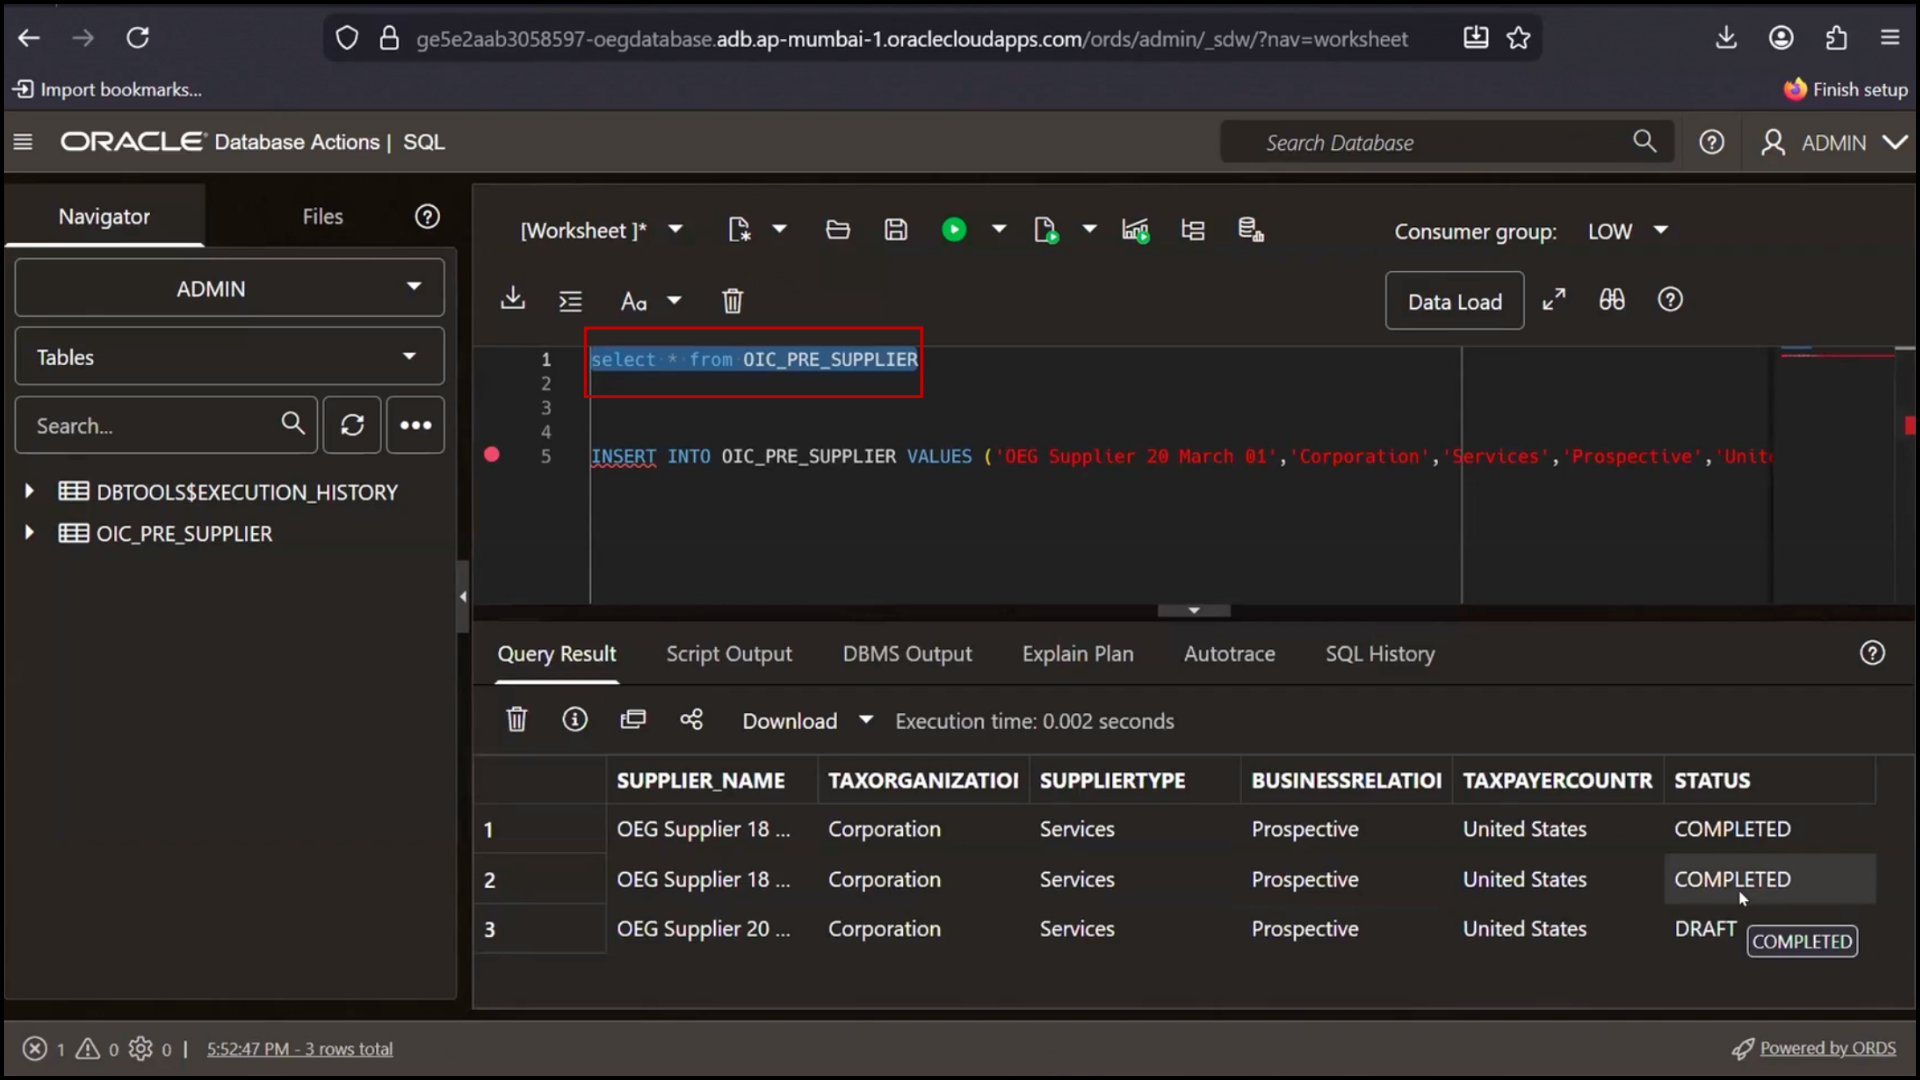
- Switch to the Database (SQL tool)
- Click on the query editor area
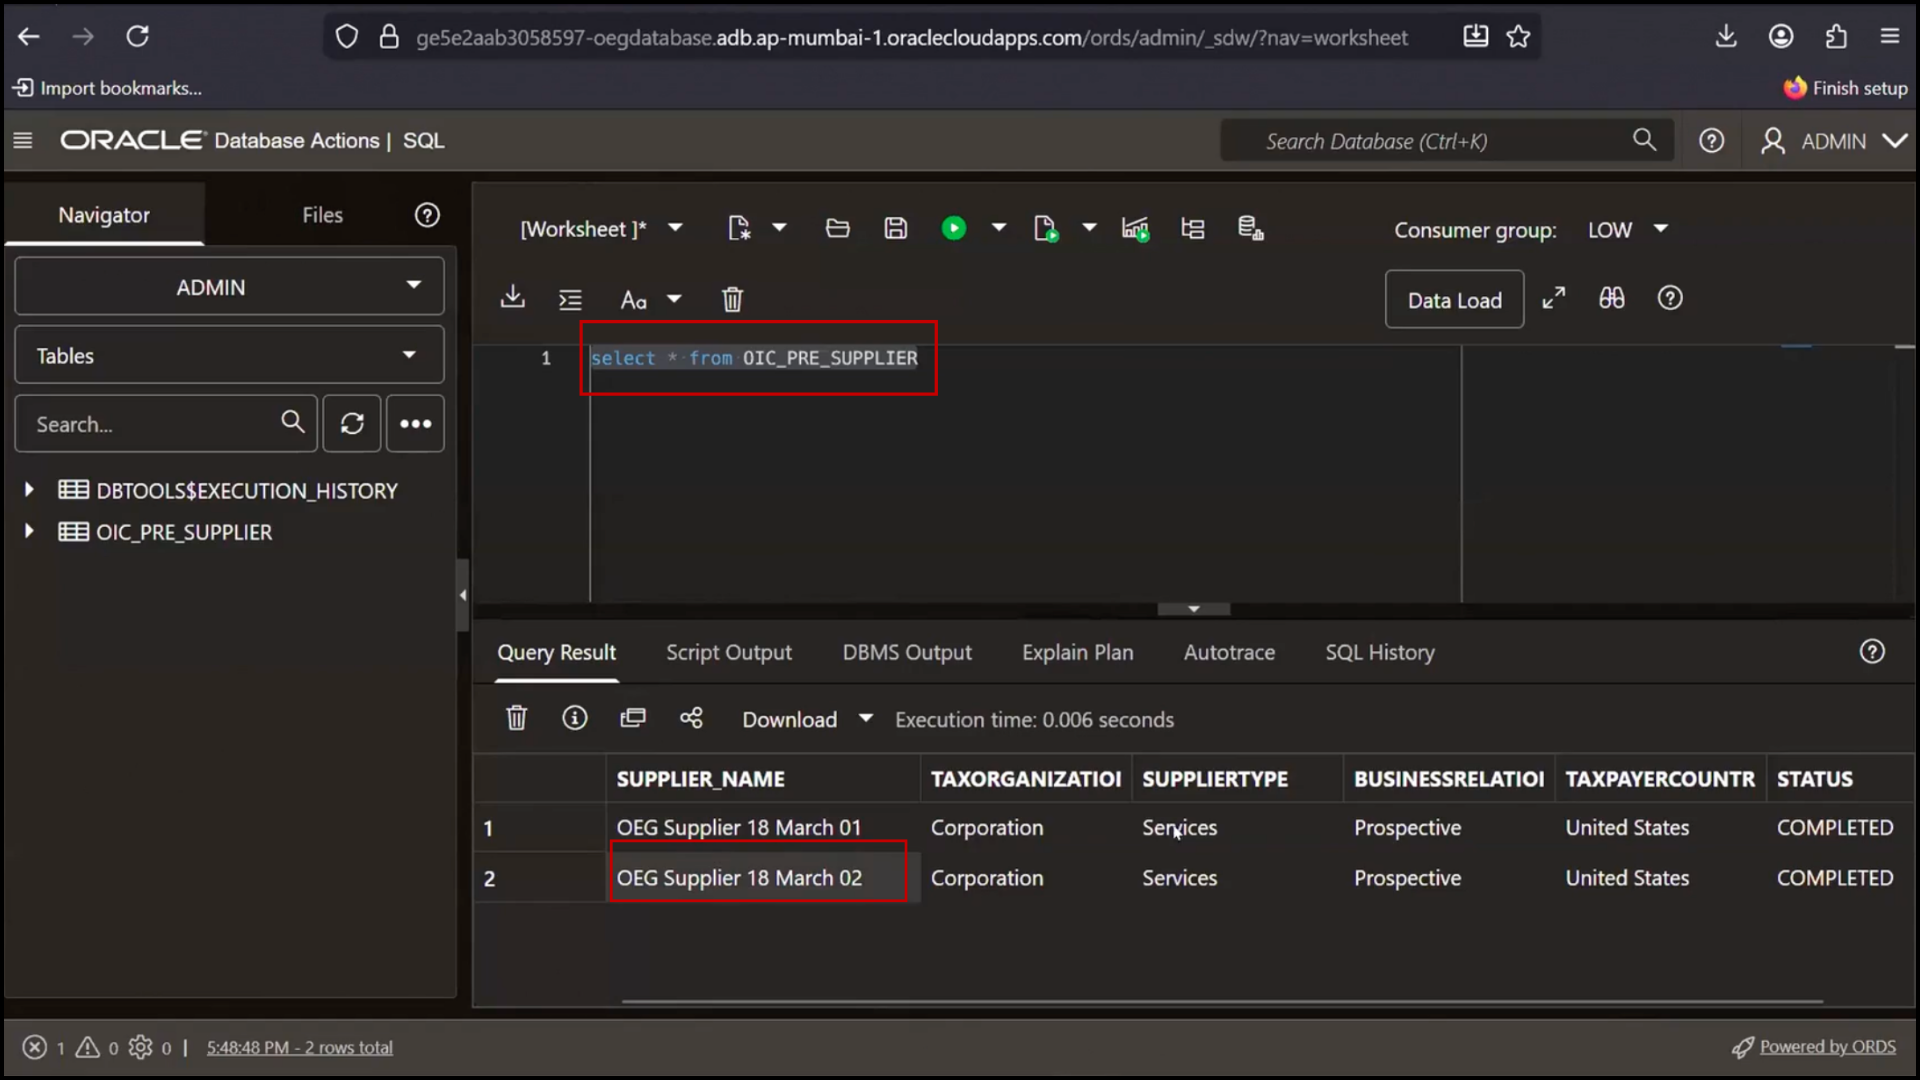
- Type the following query:
SELECT * FROM OIC_pre;
- Click on “Run / Execute.”
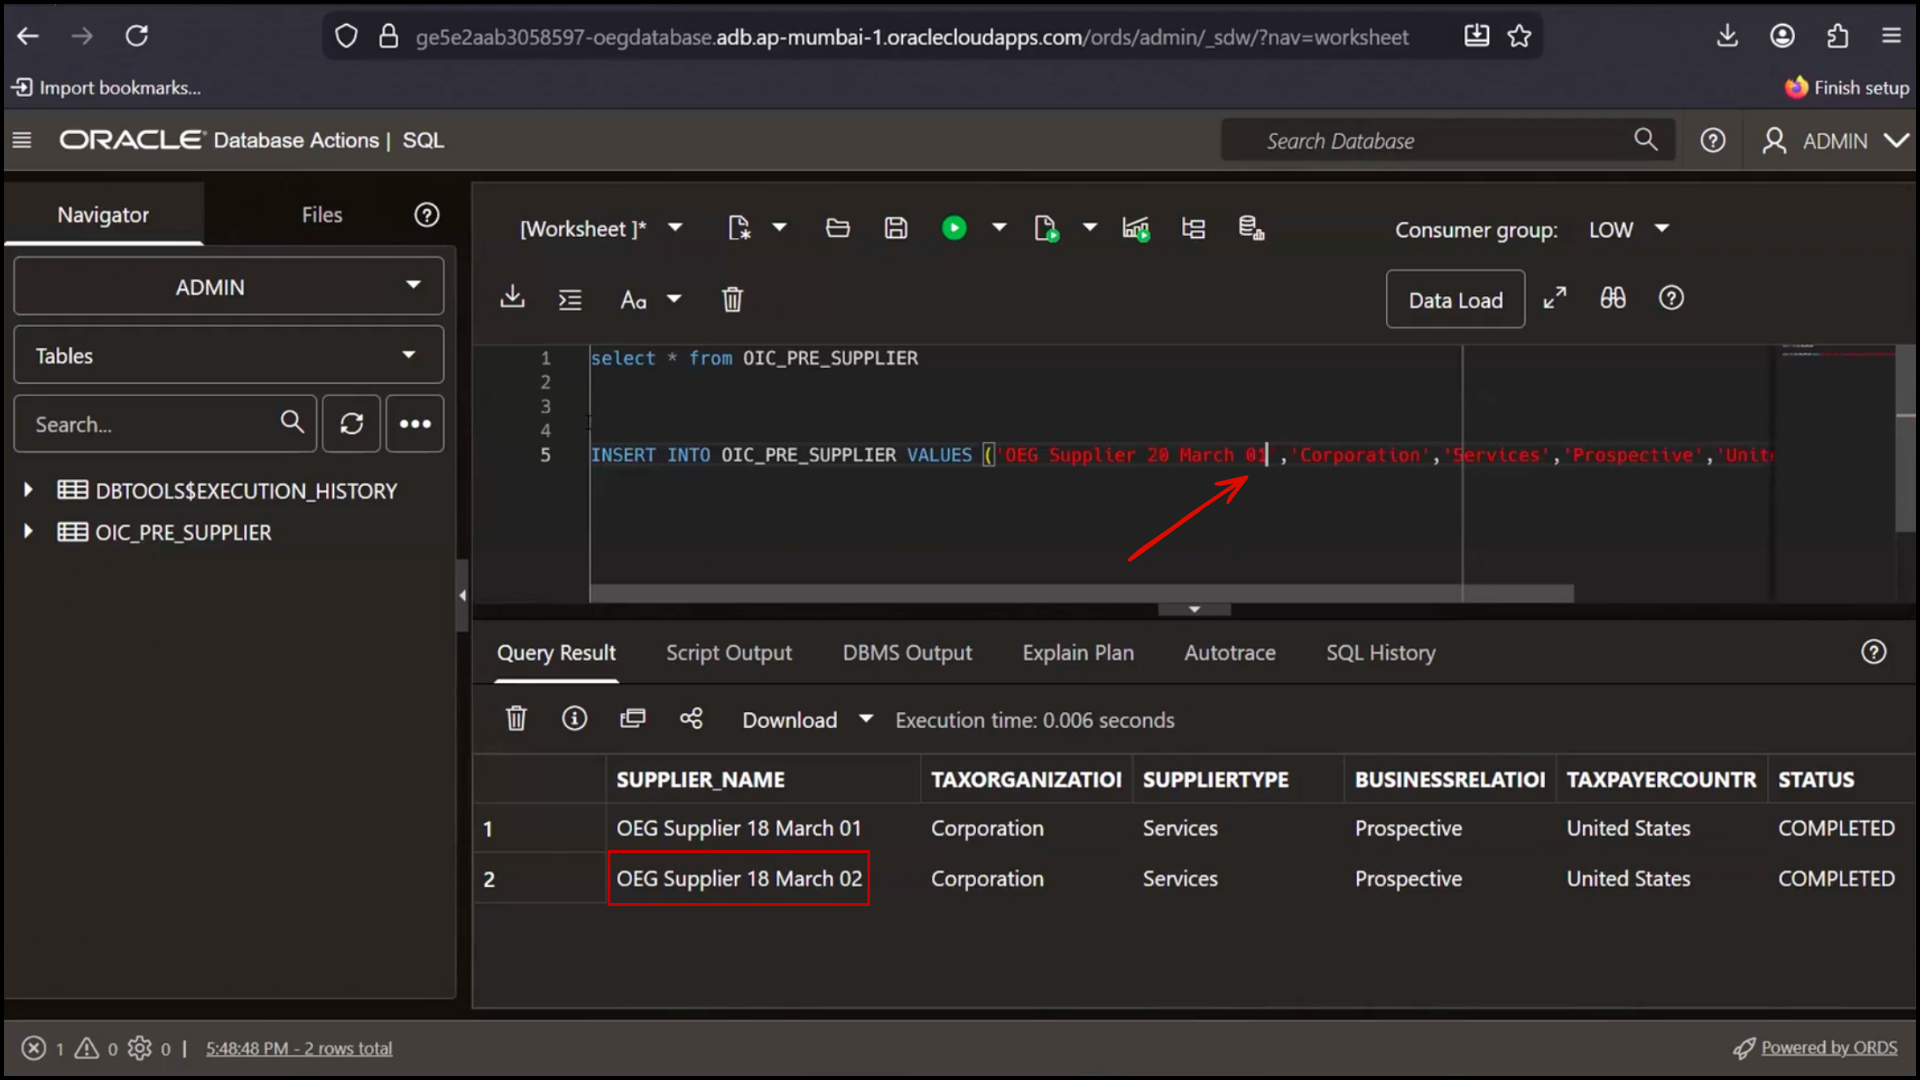
- Observe the results displayed in the output grid: Verify that two records are present and Check the Status column
- Observe:
- Existing records already marked as Completed
Step 2: Insert New Record
- Execute insert script
- Add new supplier record (example: 20 March supplier)
- Run query again:
select * from OIC_pre;
- Observe:
- New record appears
- Status = Draft
Step 3: Verify Fusion Before Integration
- Navigate in Fusion:
- Click “Procurement.”
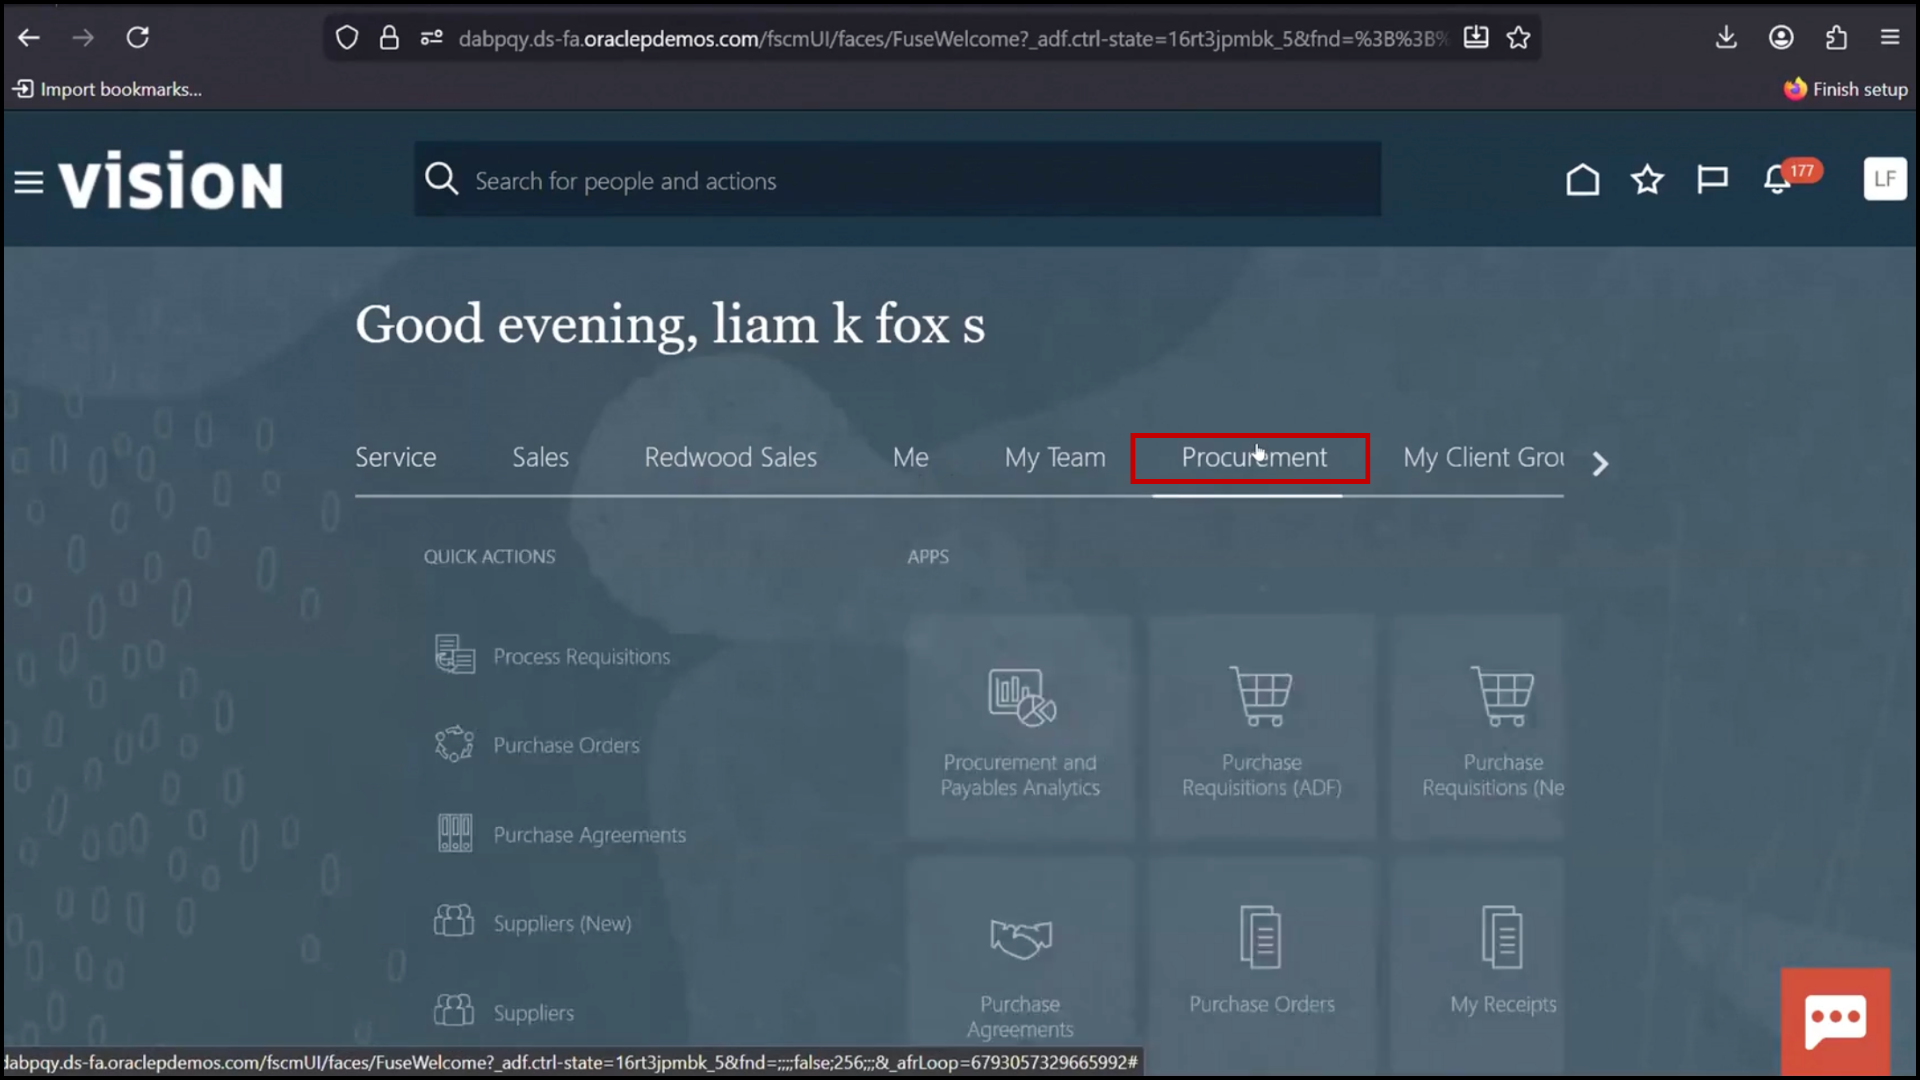
- Click “Suppliers.”
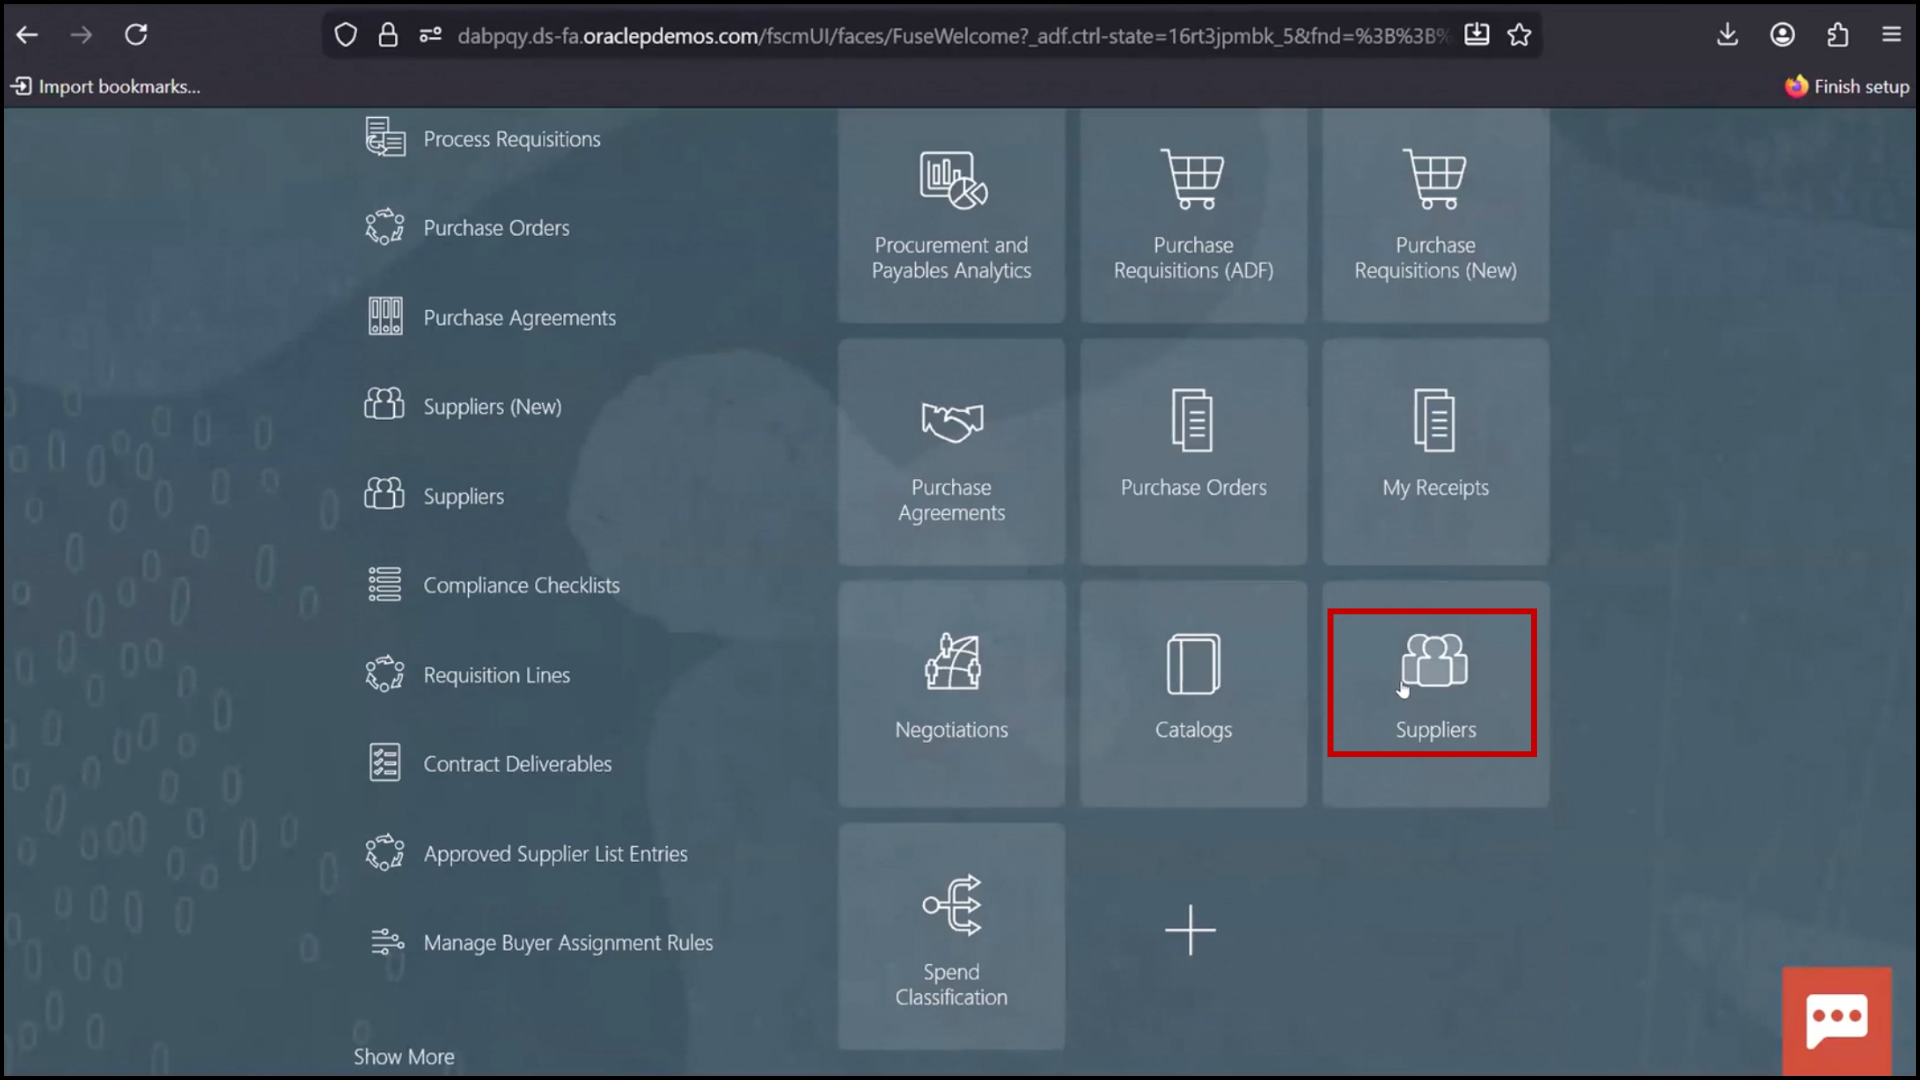
- Click “Manage Suppliers.”
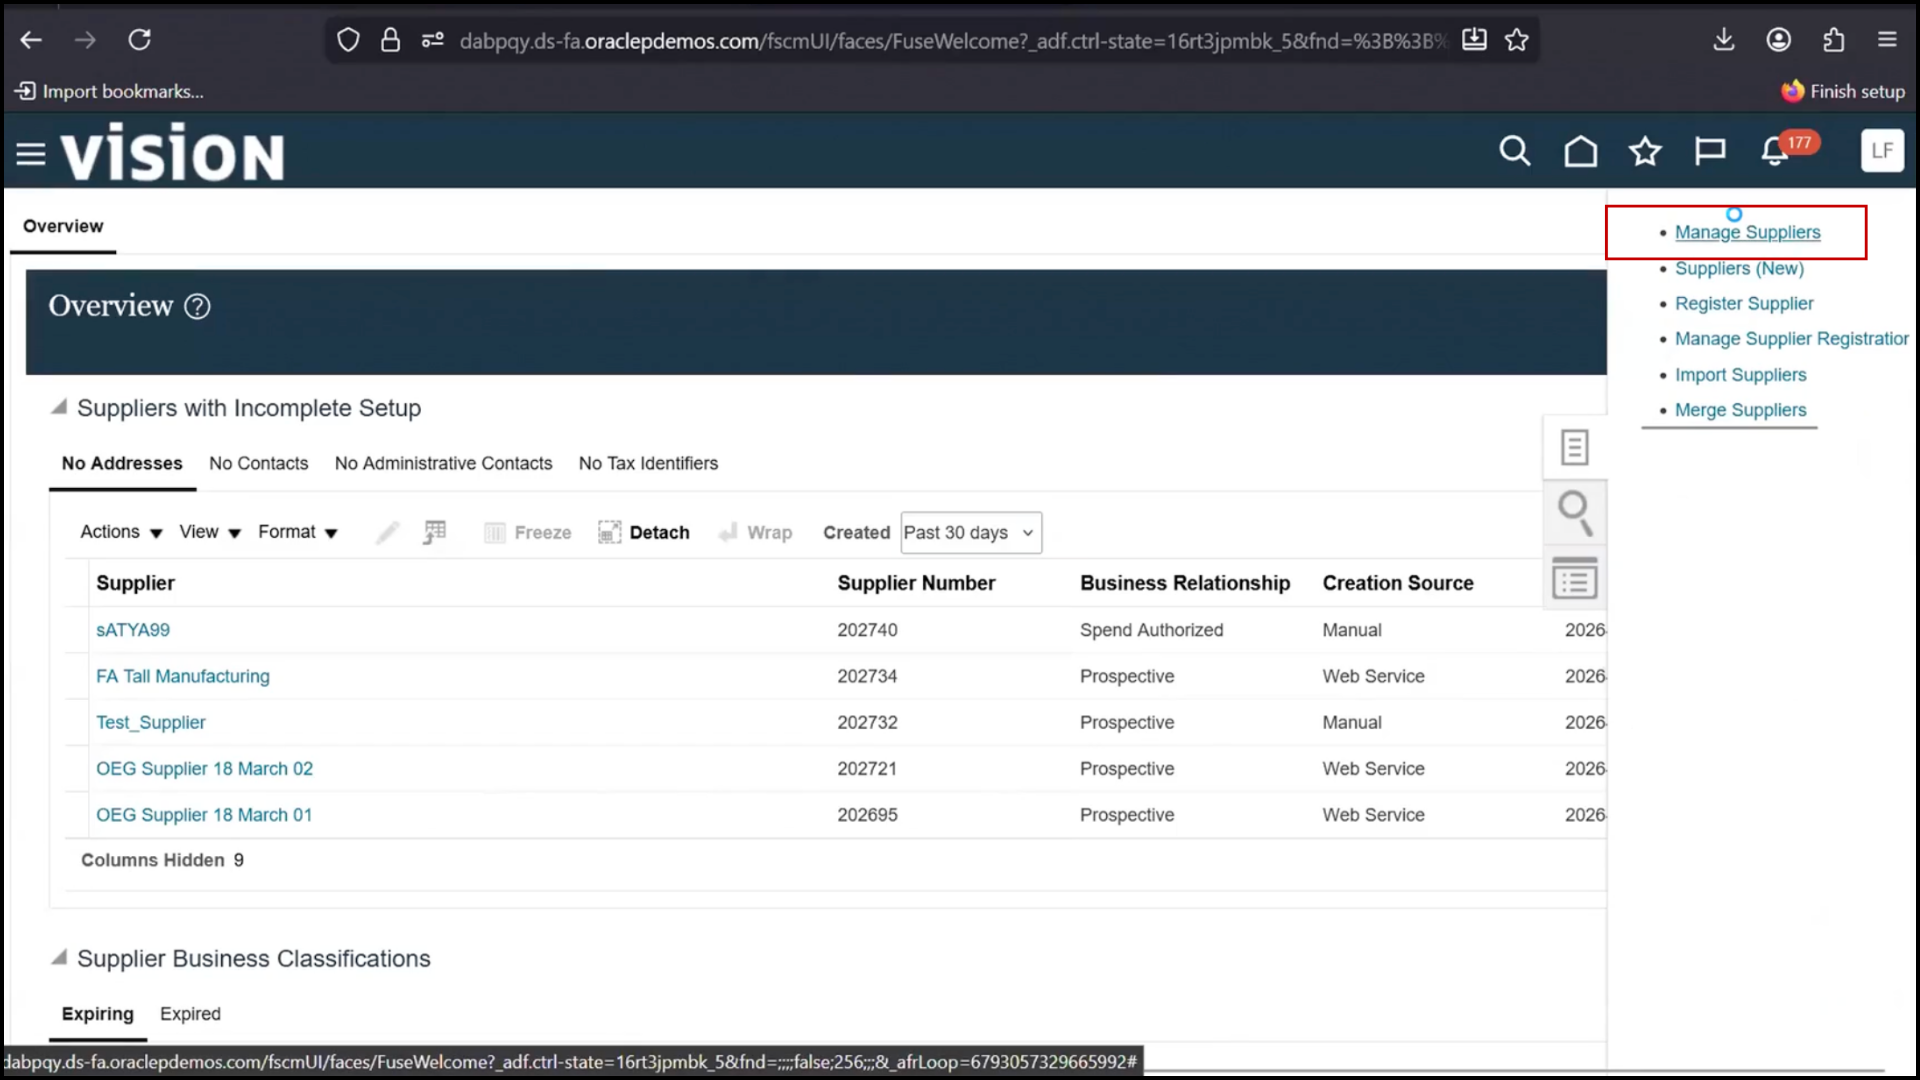
- Search using keyword (example: OEG)

- Observe:
- Only existing suppliers visible: Observe the supplier names displayed in Fusion (e.g., 18 Mar 01, 18 Mar 02)
- New record not present
- Compare these supplier records with the database records
- Confirm that the same records are present in both Database and Fusion
- Conclude that existing records are already synchronized
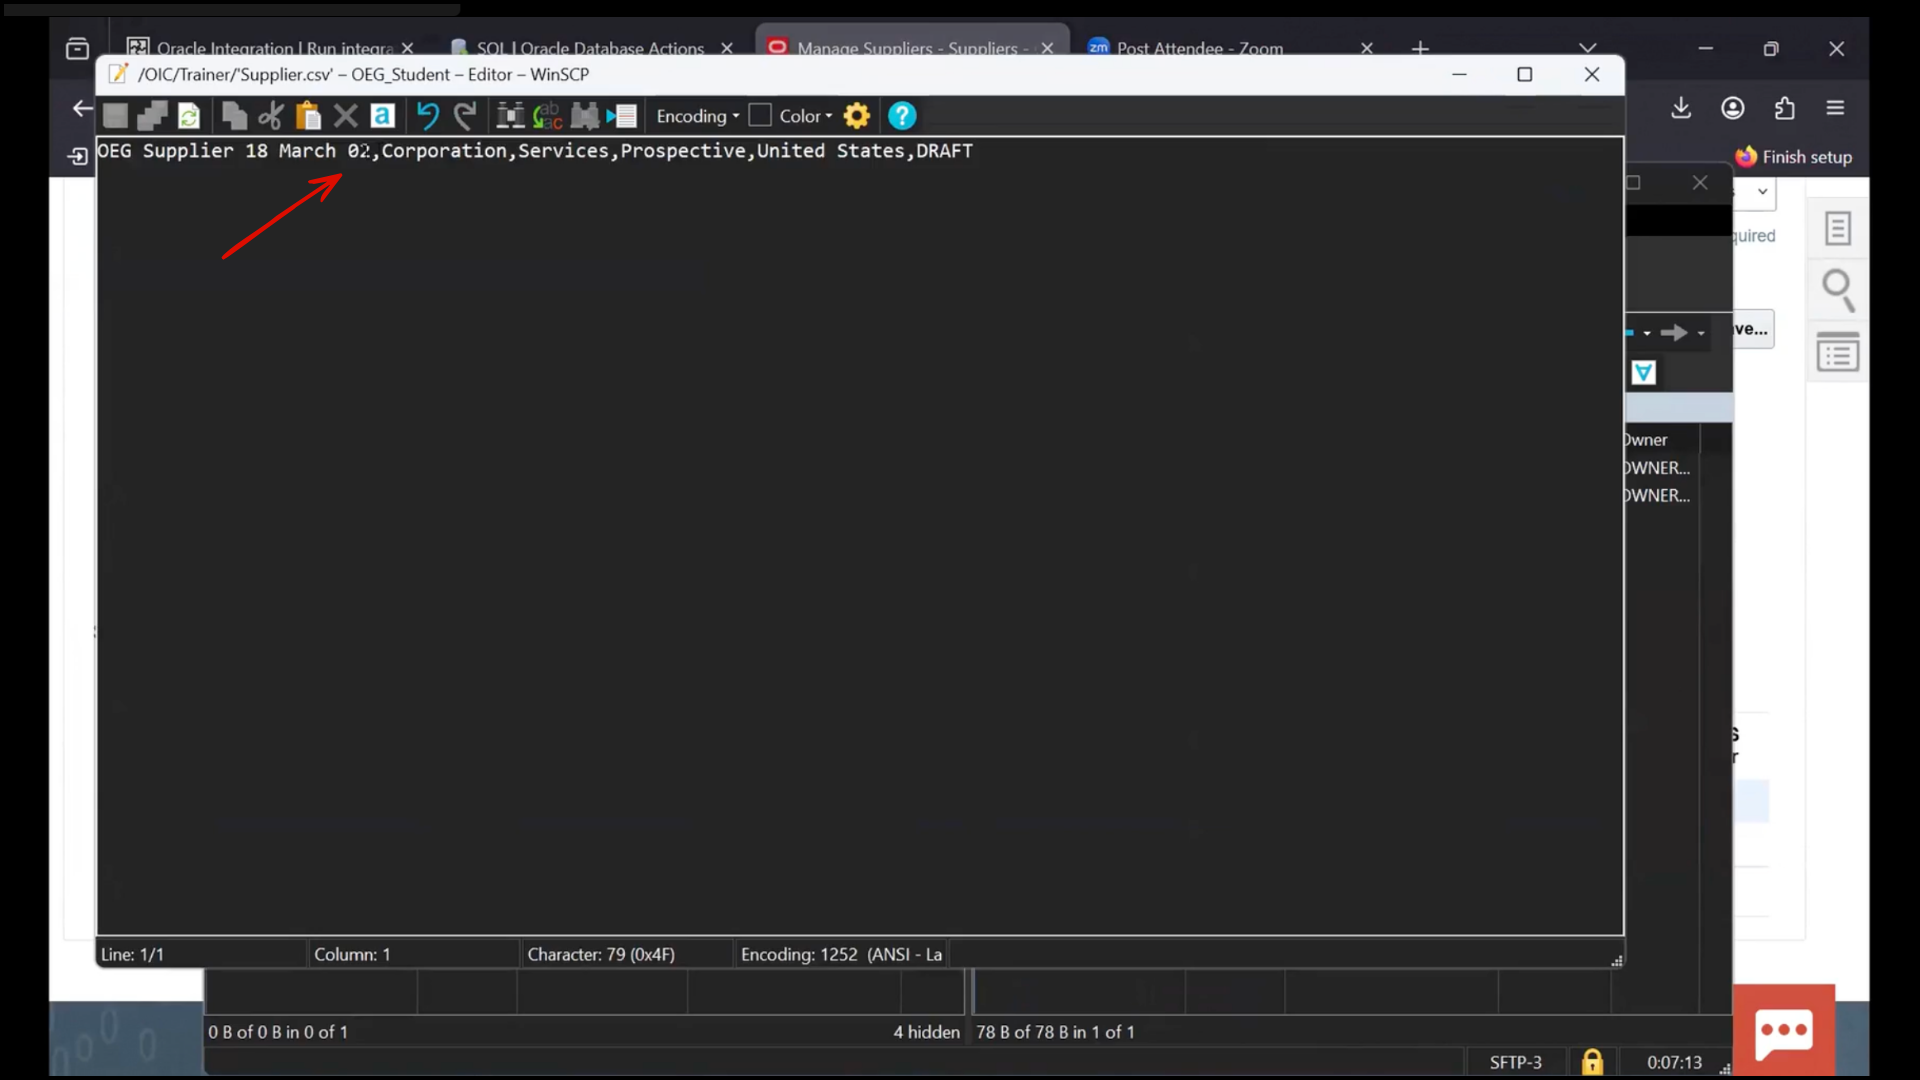
Inserting a New Record in Database
- Switch to the Database (SQL tool)
- Click on the query editor area
- Open or paste the insert script
- Review the fields in the insert script
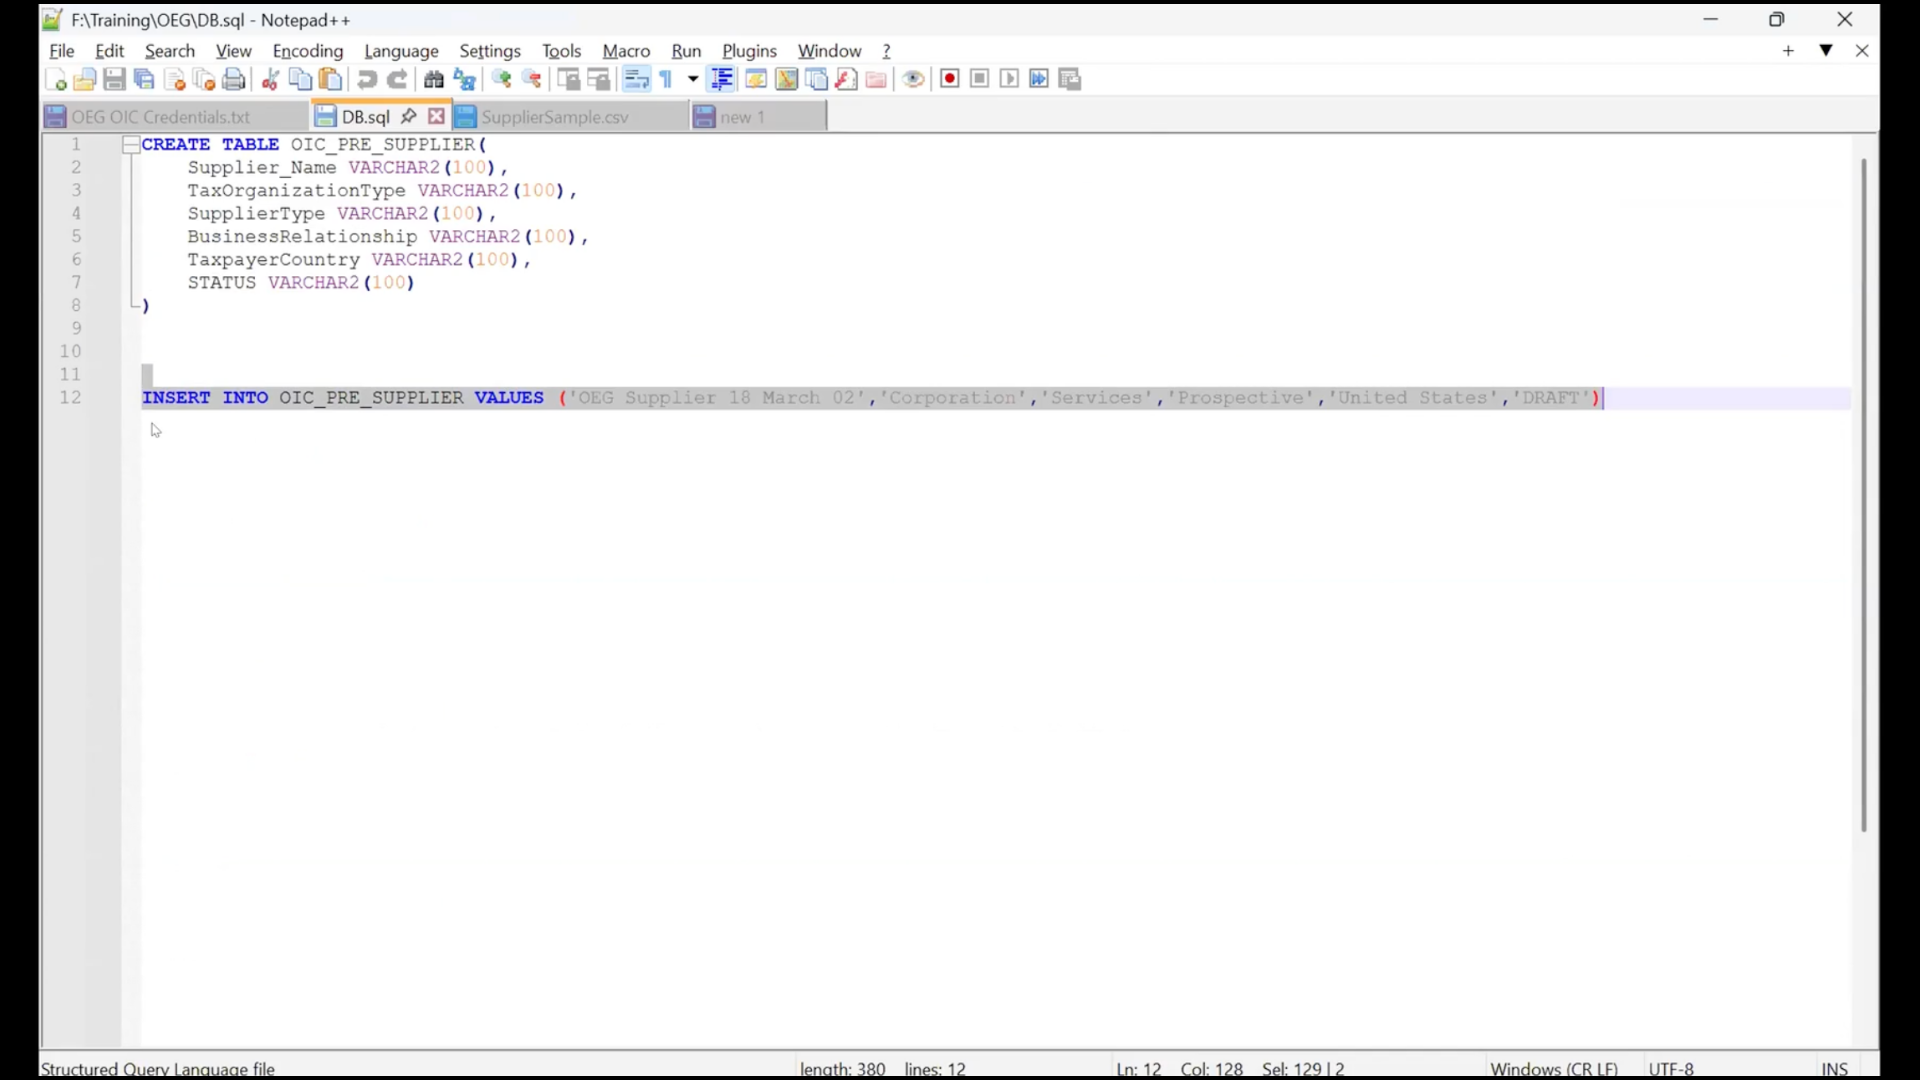
- Supplier Name
- Supplier Name
- Tax Organization Type
- Supplier Type
- Business Relationship
- Taxpayer Country
- Status
- Ensure all values match valid Fusion values (no random values allowed)
- Modify the supplier name to a new value (e.g., 20 March 01)
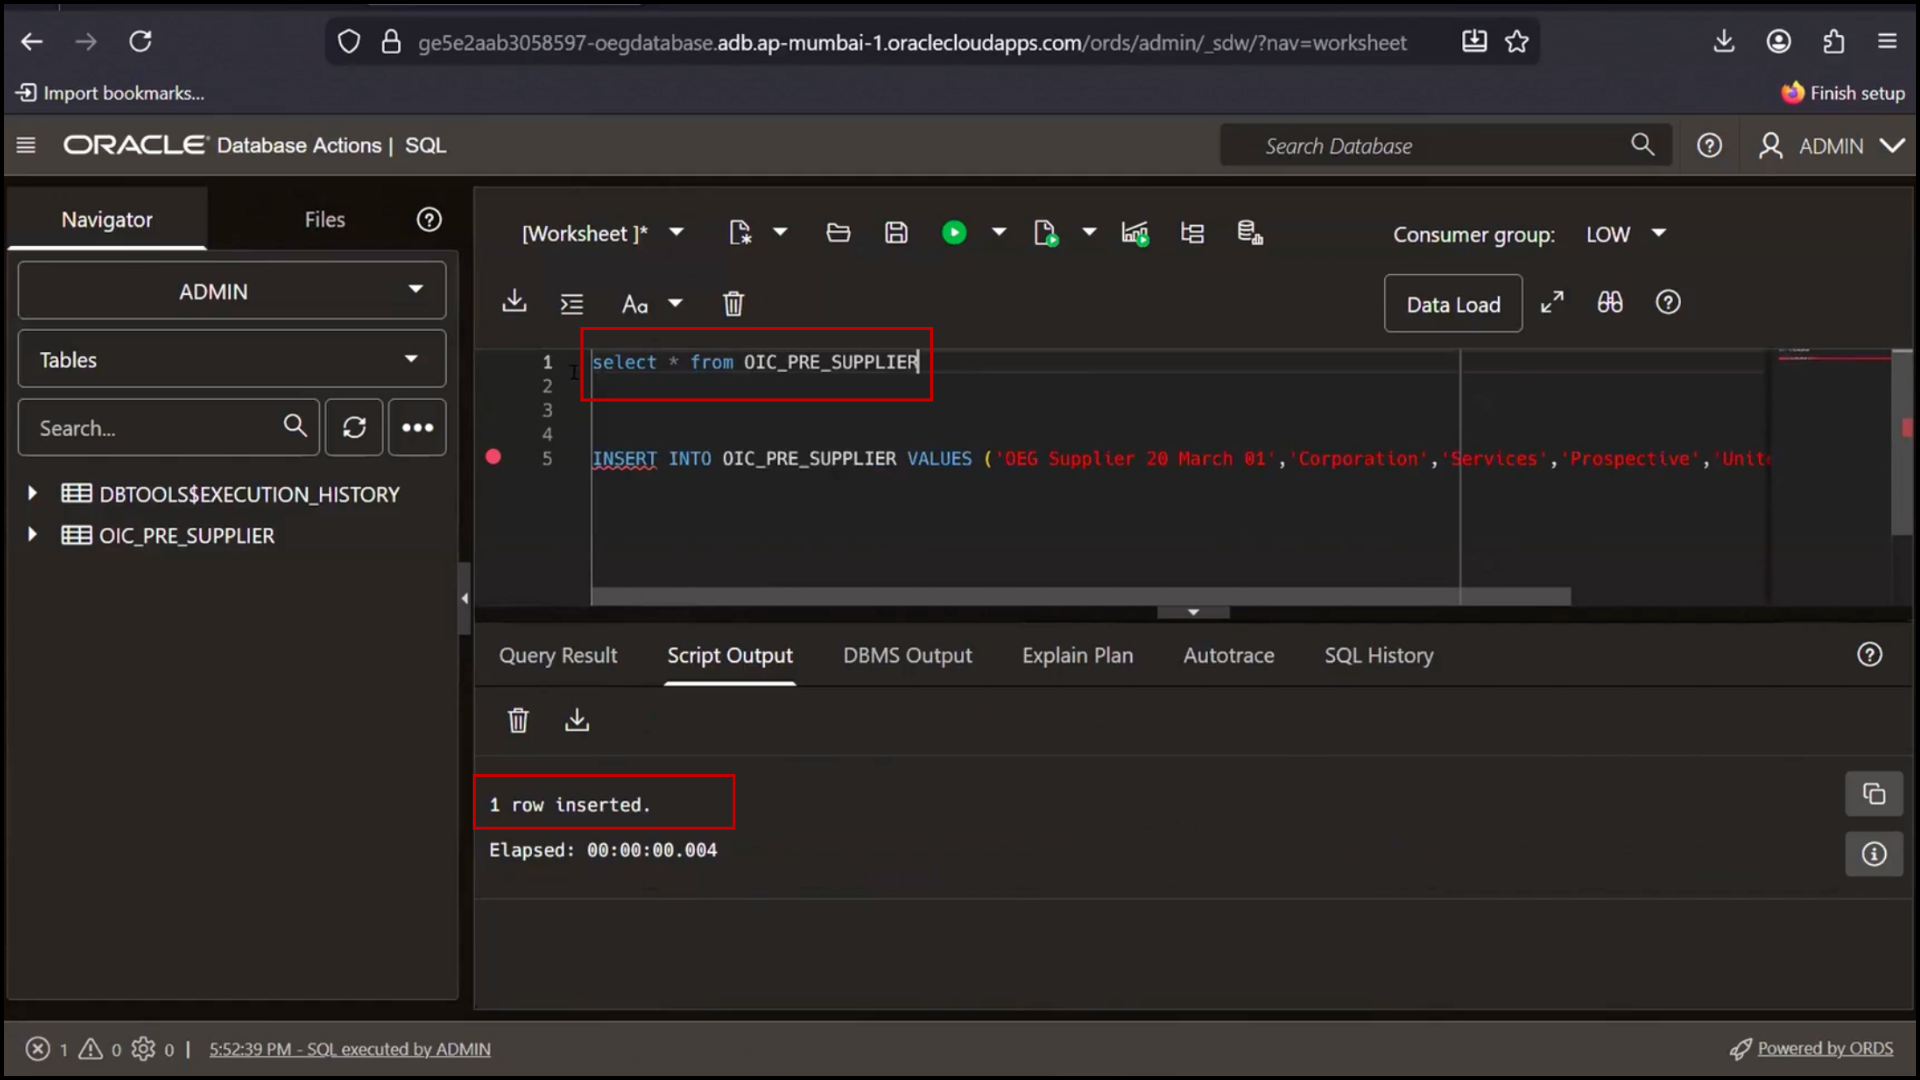
- Keep other fields aligned with the predefined list of values and verify that the script output confirms one row has been inserted.
- Ensure the Status field is set to Draft
- Click on Run / Execute to insert the record

- Wait for successful execution
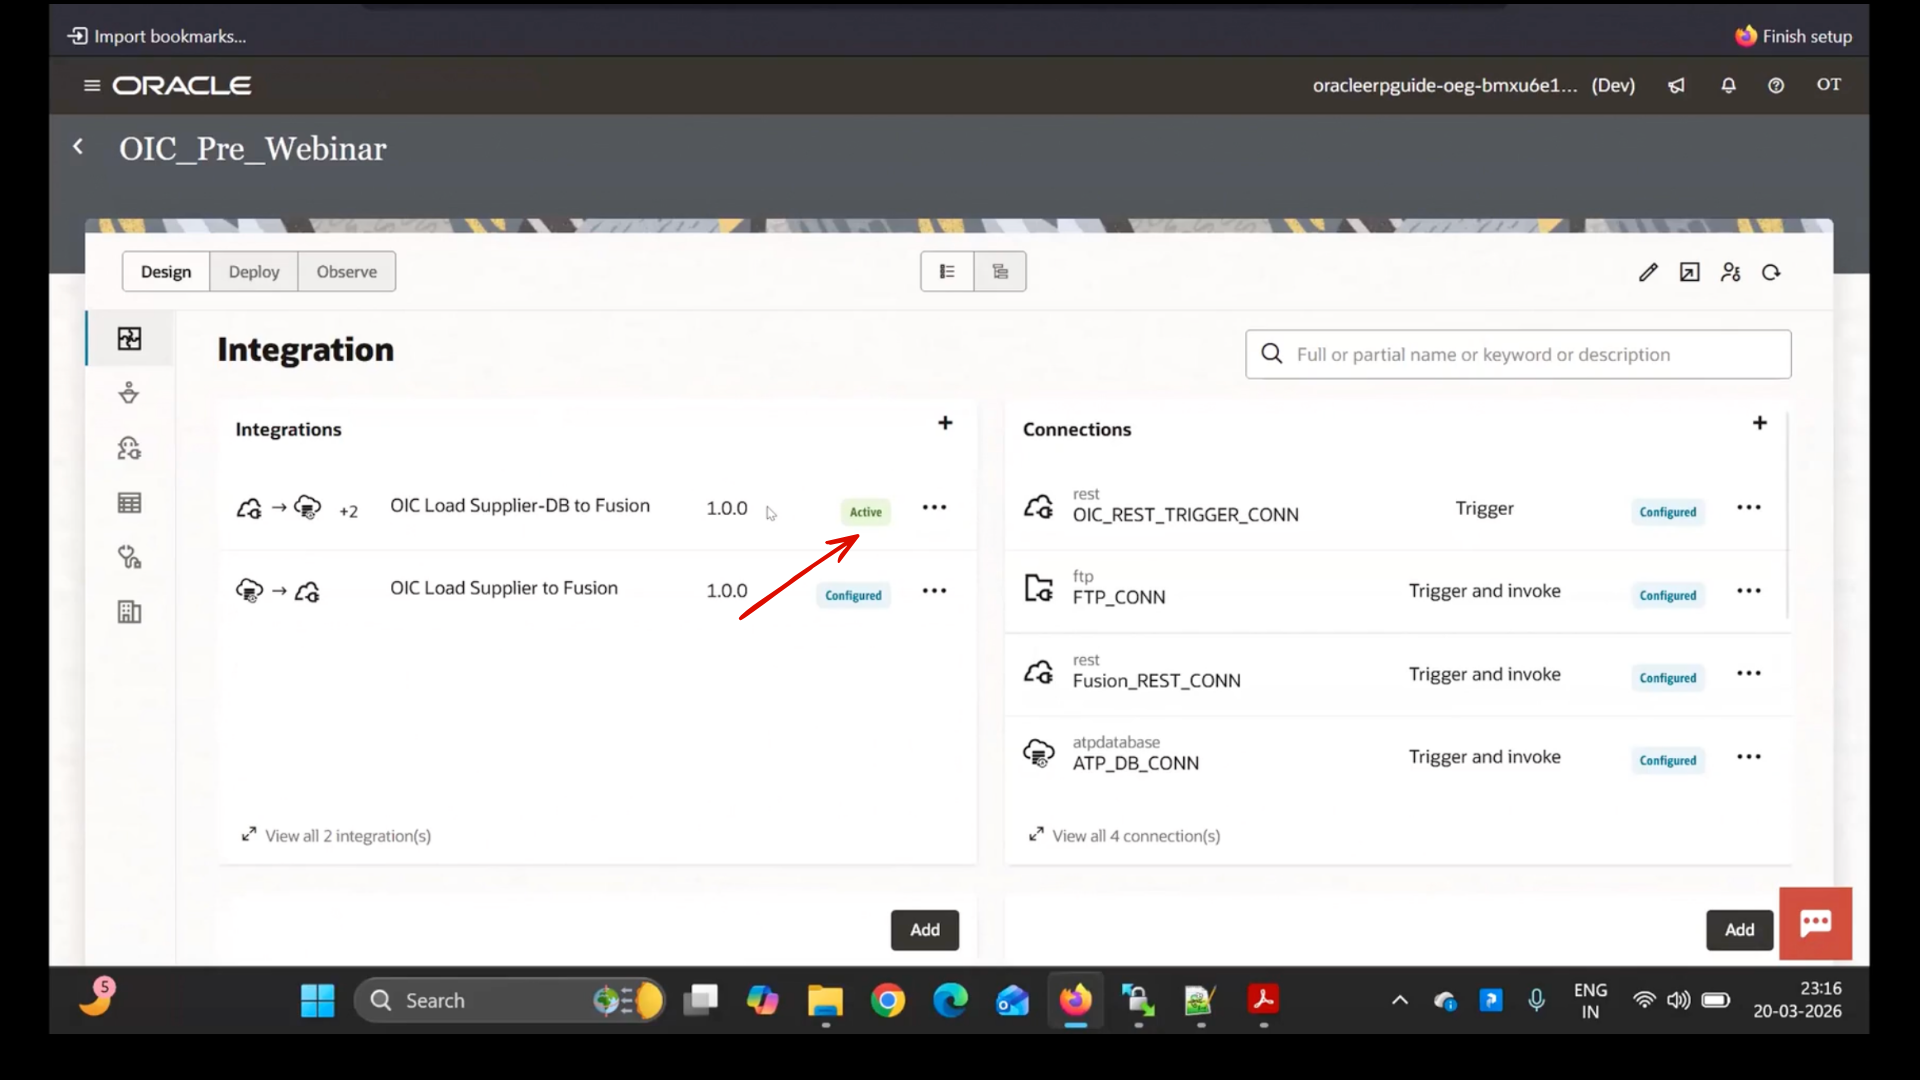
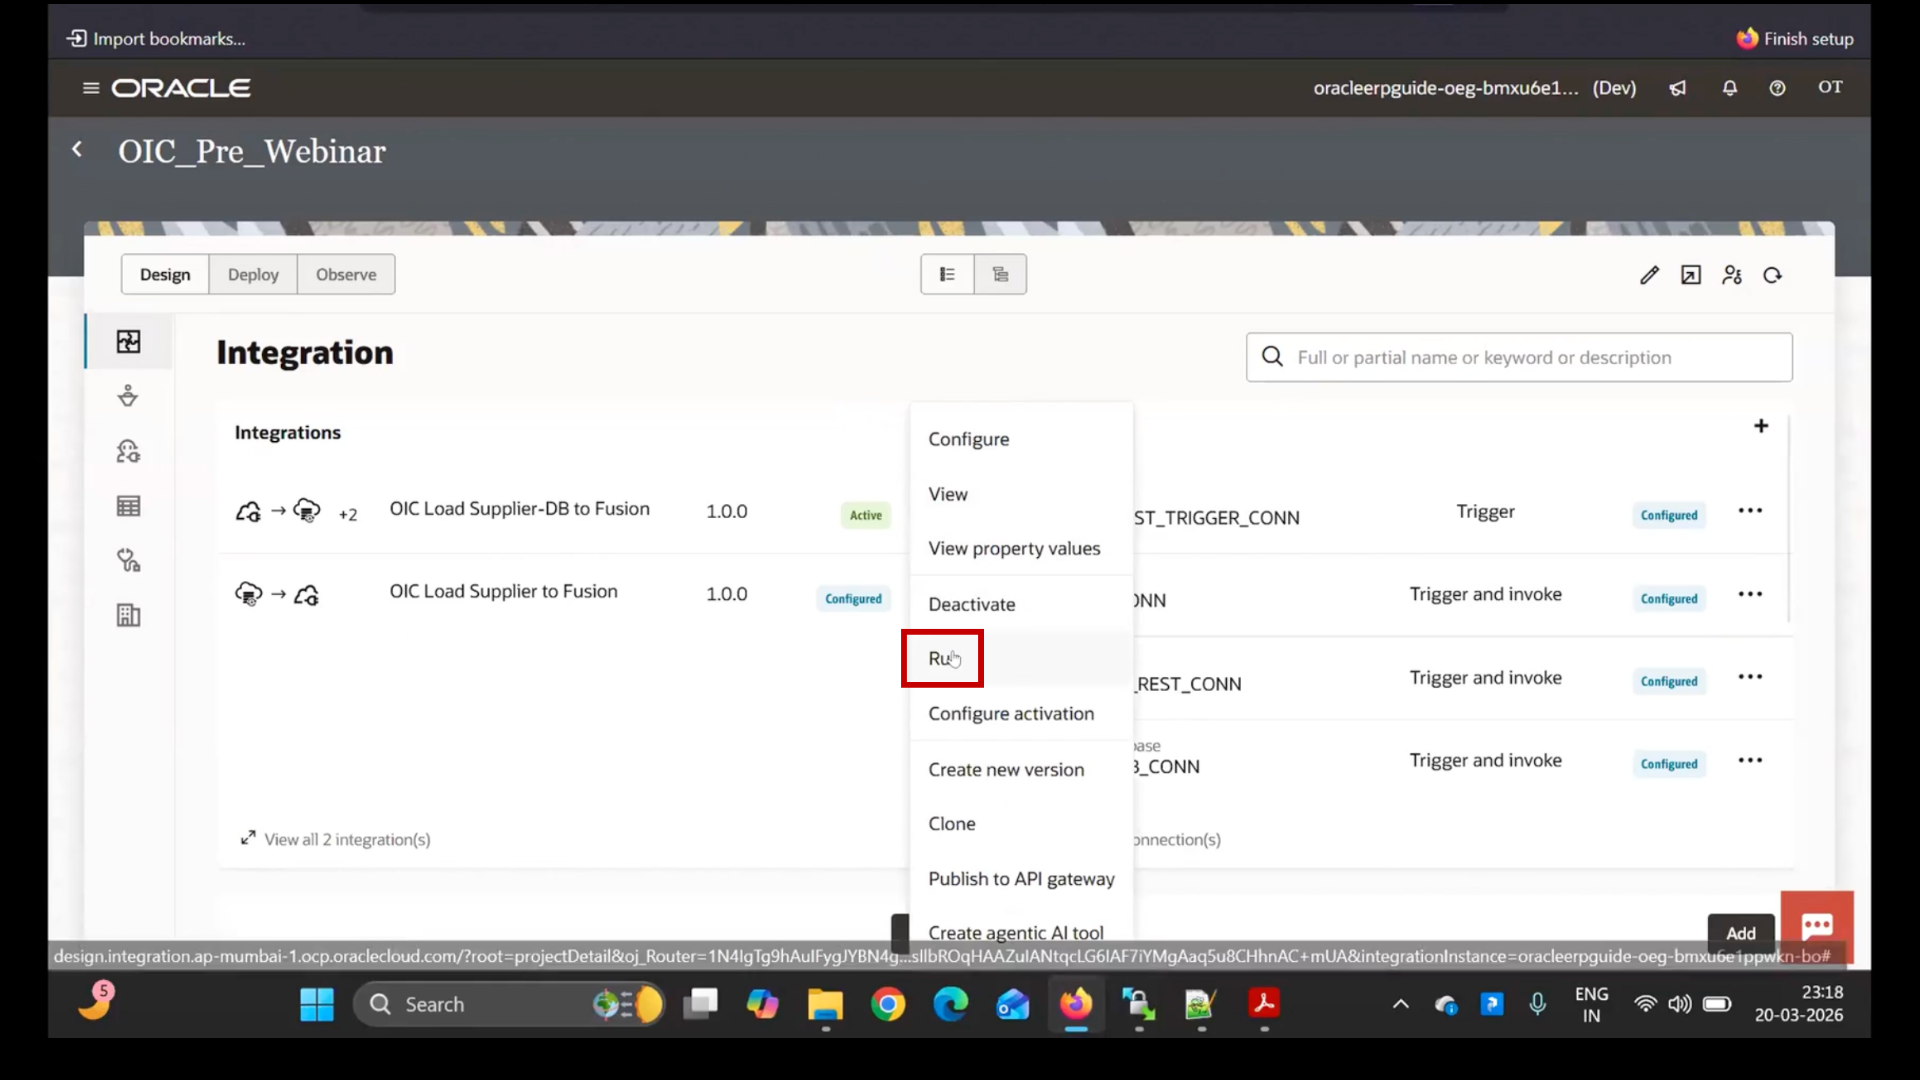
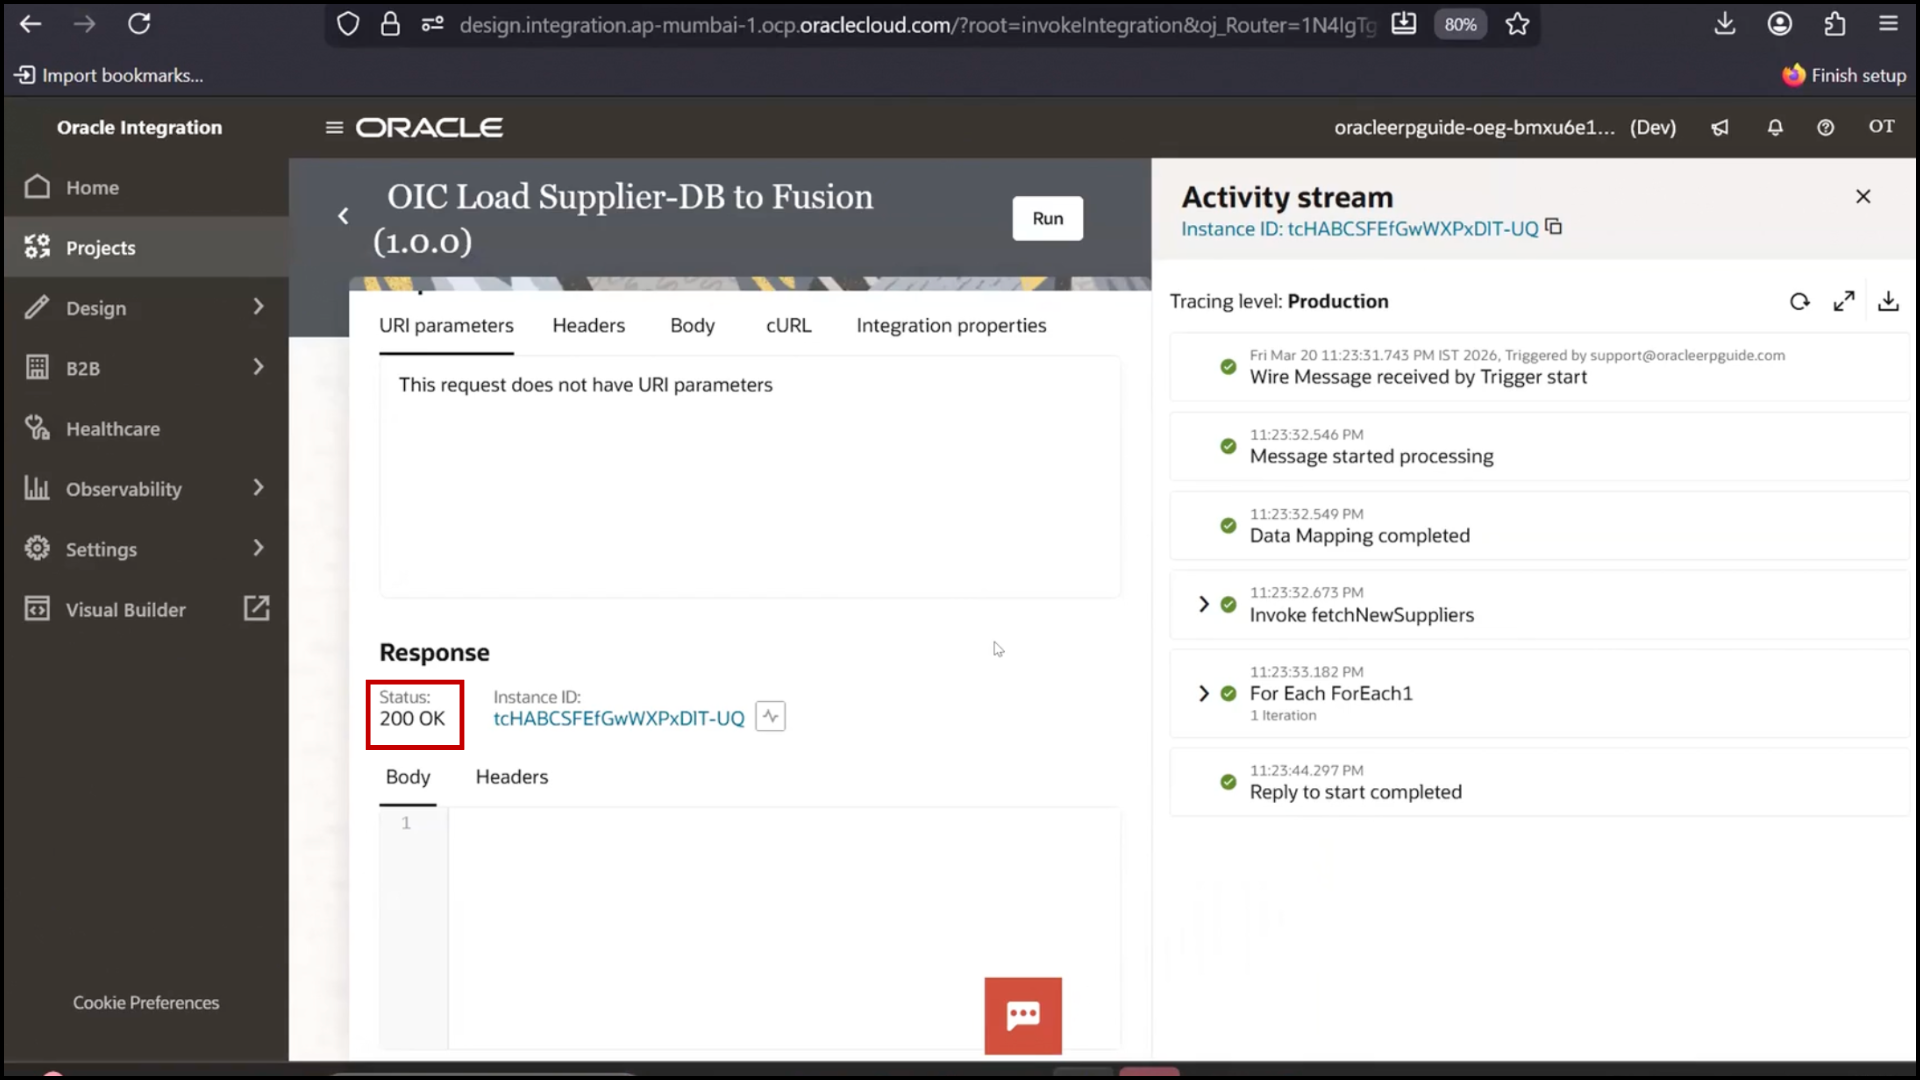
Step 4: Run Integration
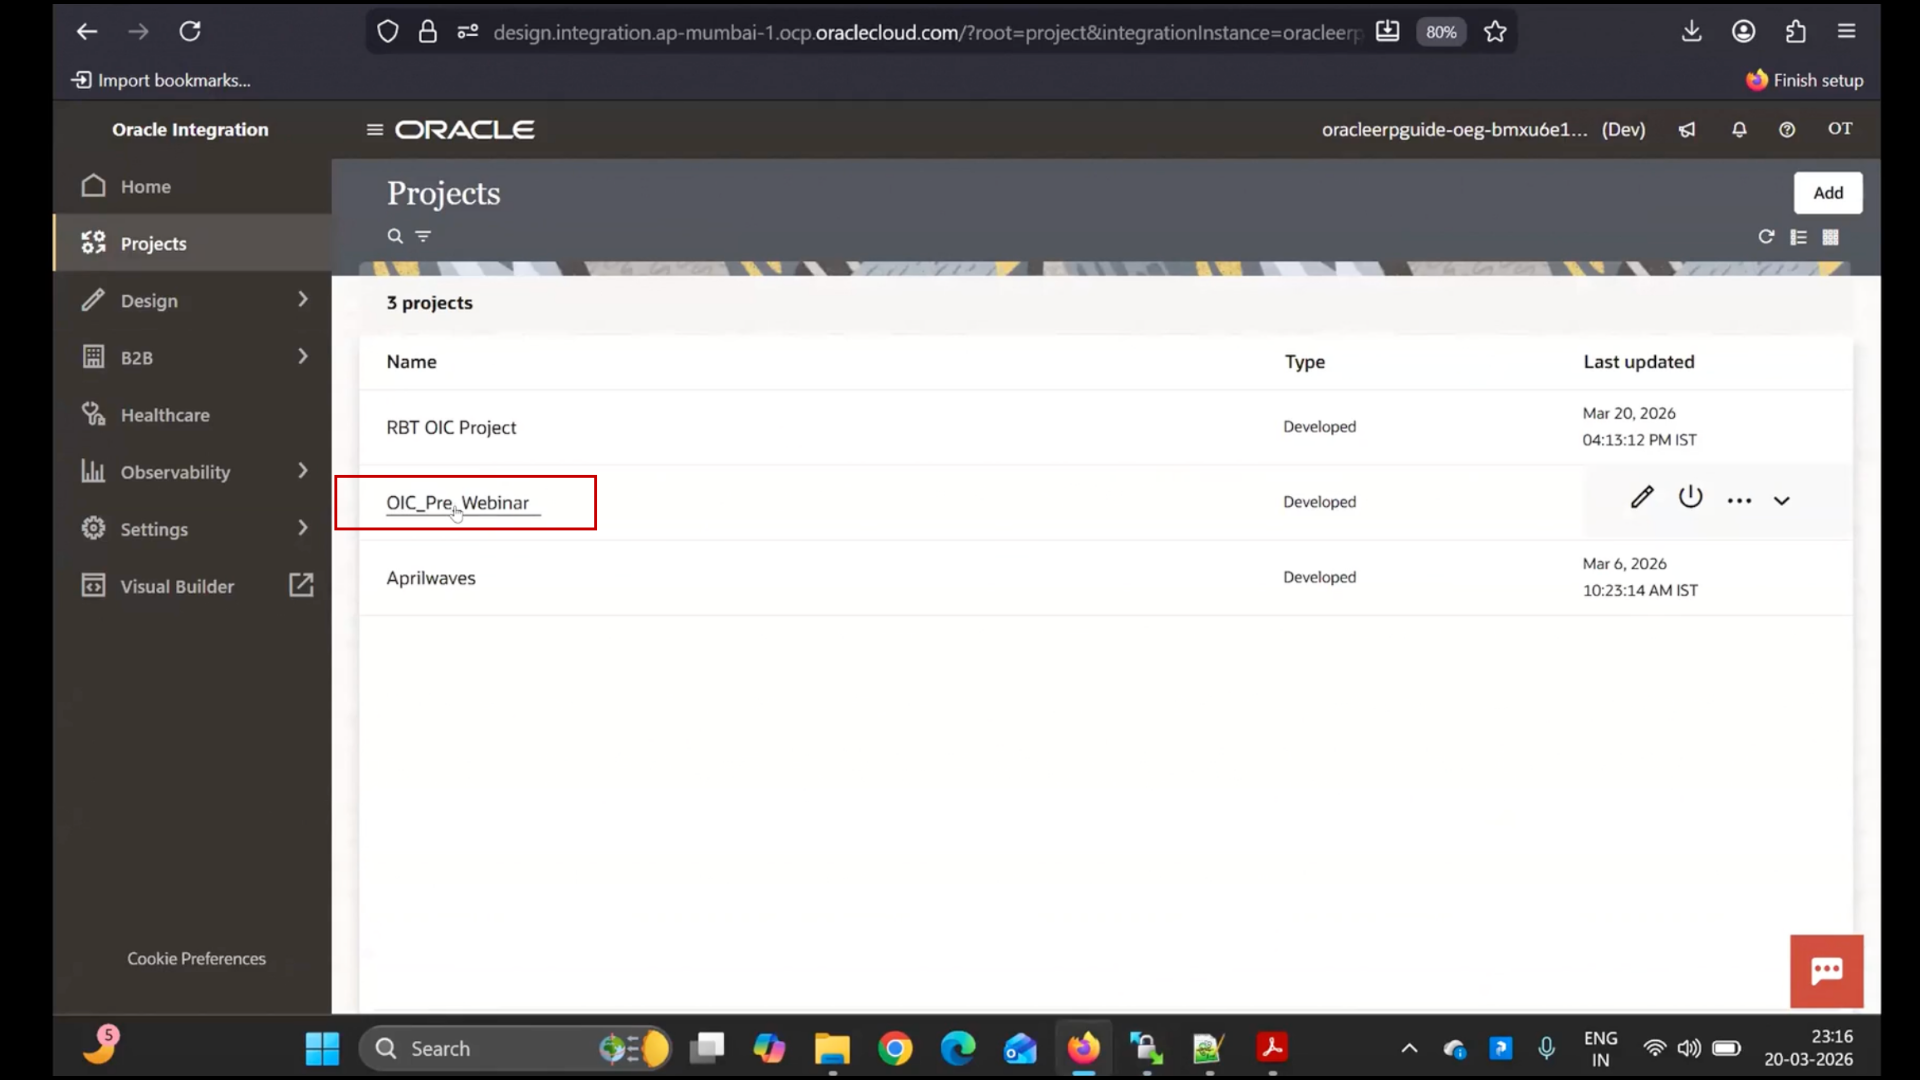
- Go to OIC
- Open Projects
- Open existing integration (demo project)
- Click Run
- Observe:
- Response: 200 OK
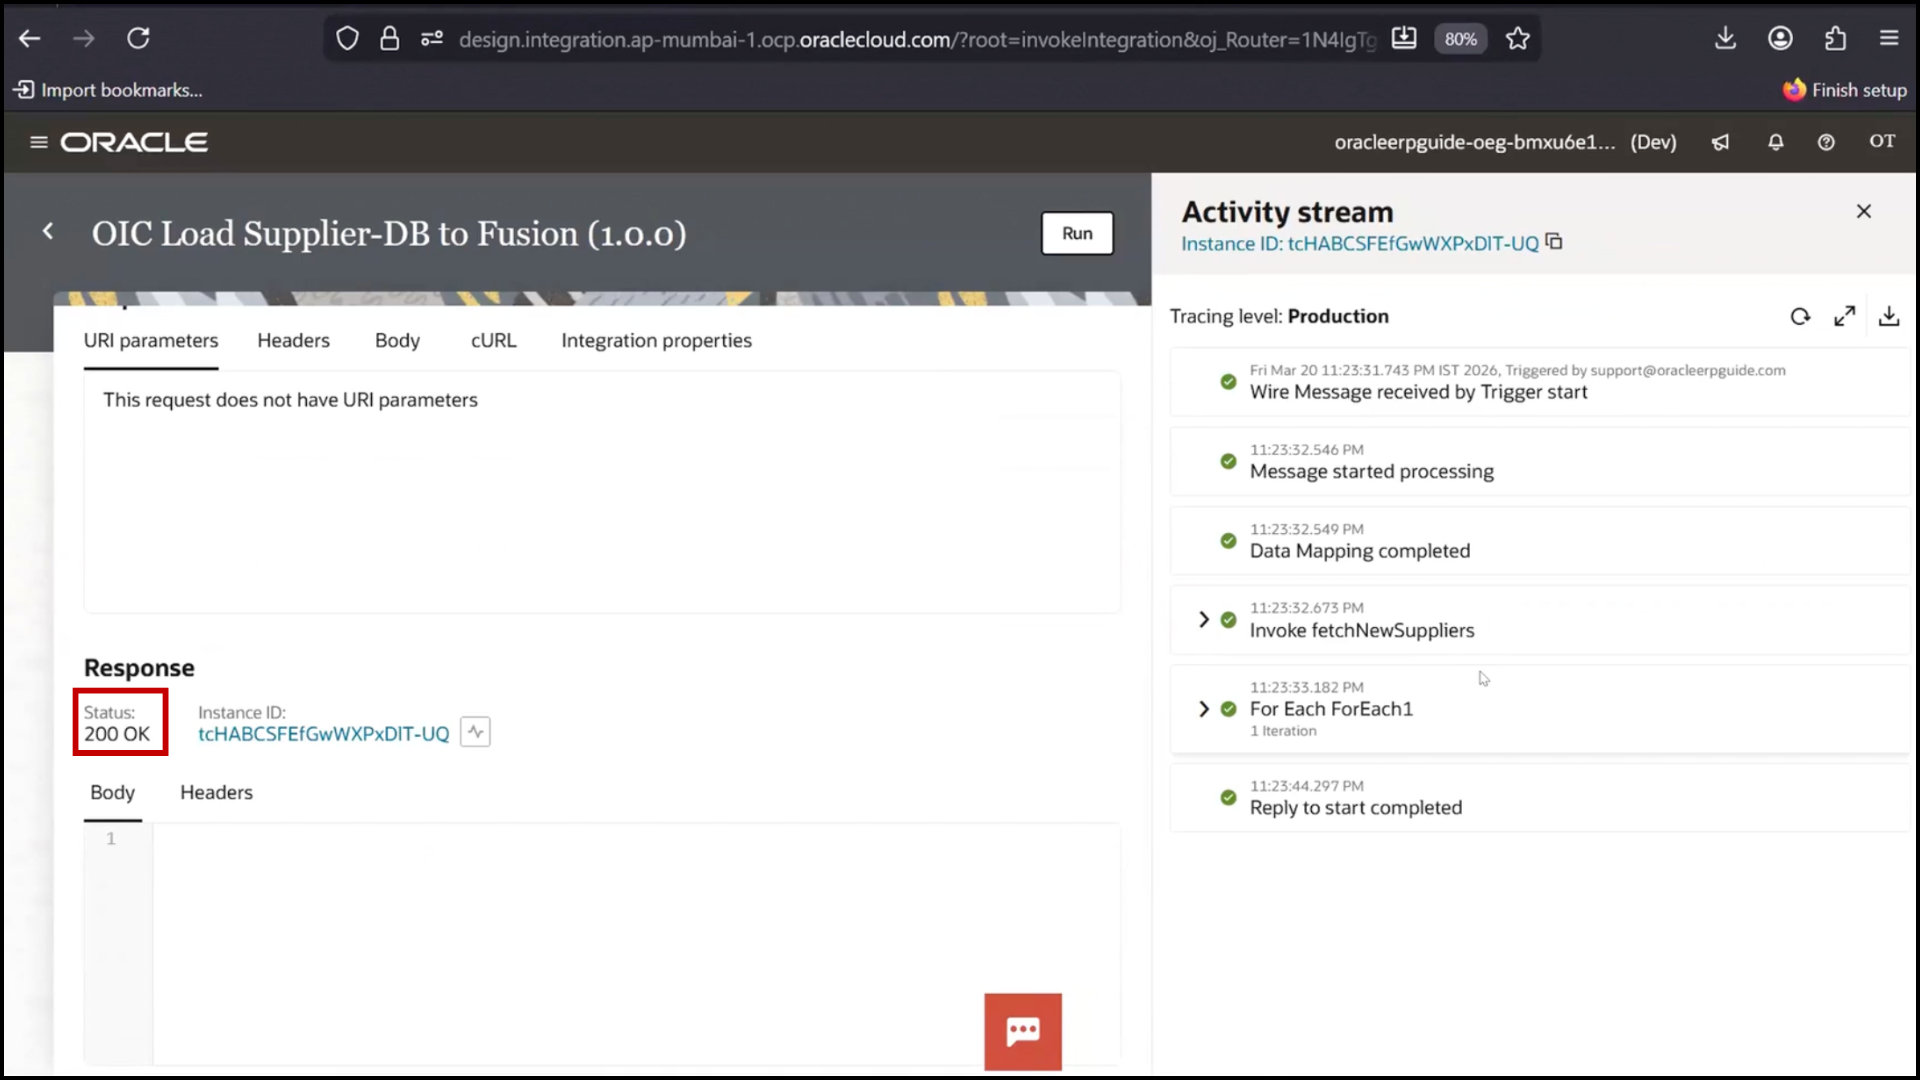
- Status: Success
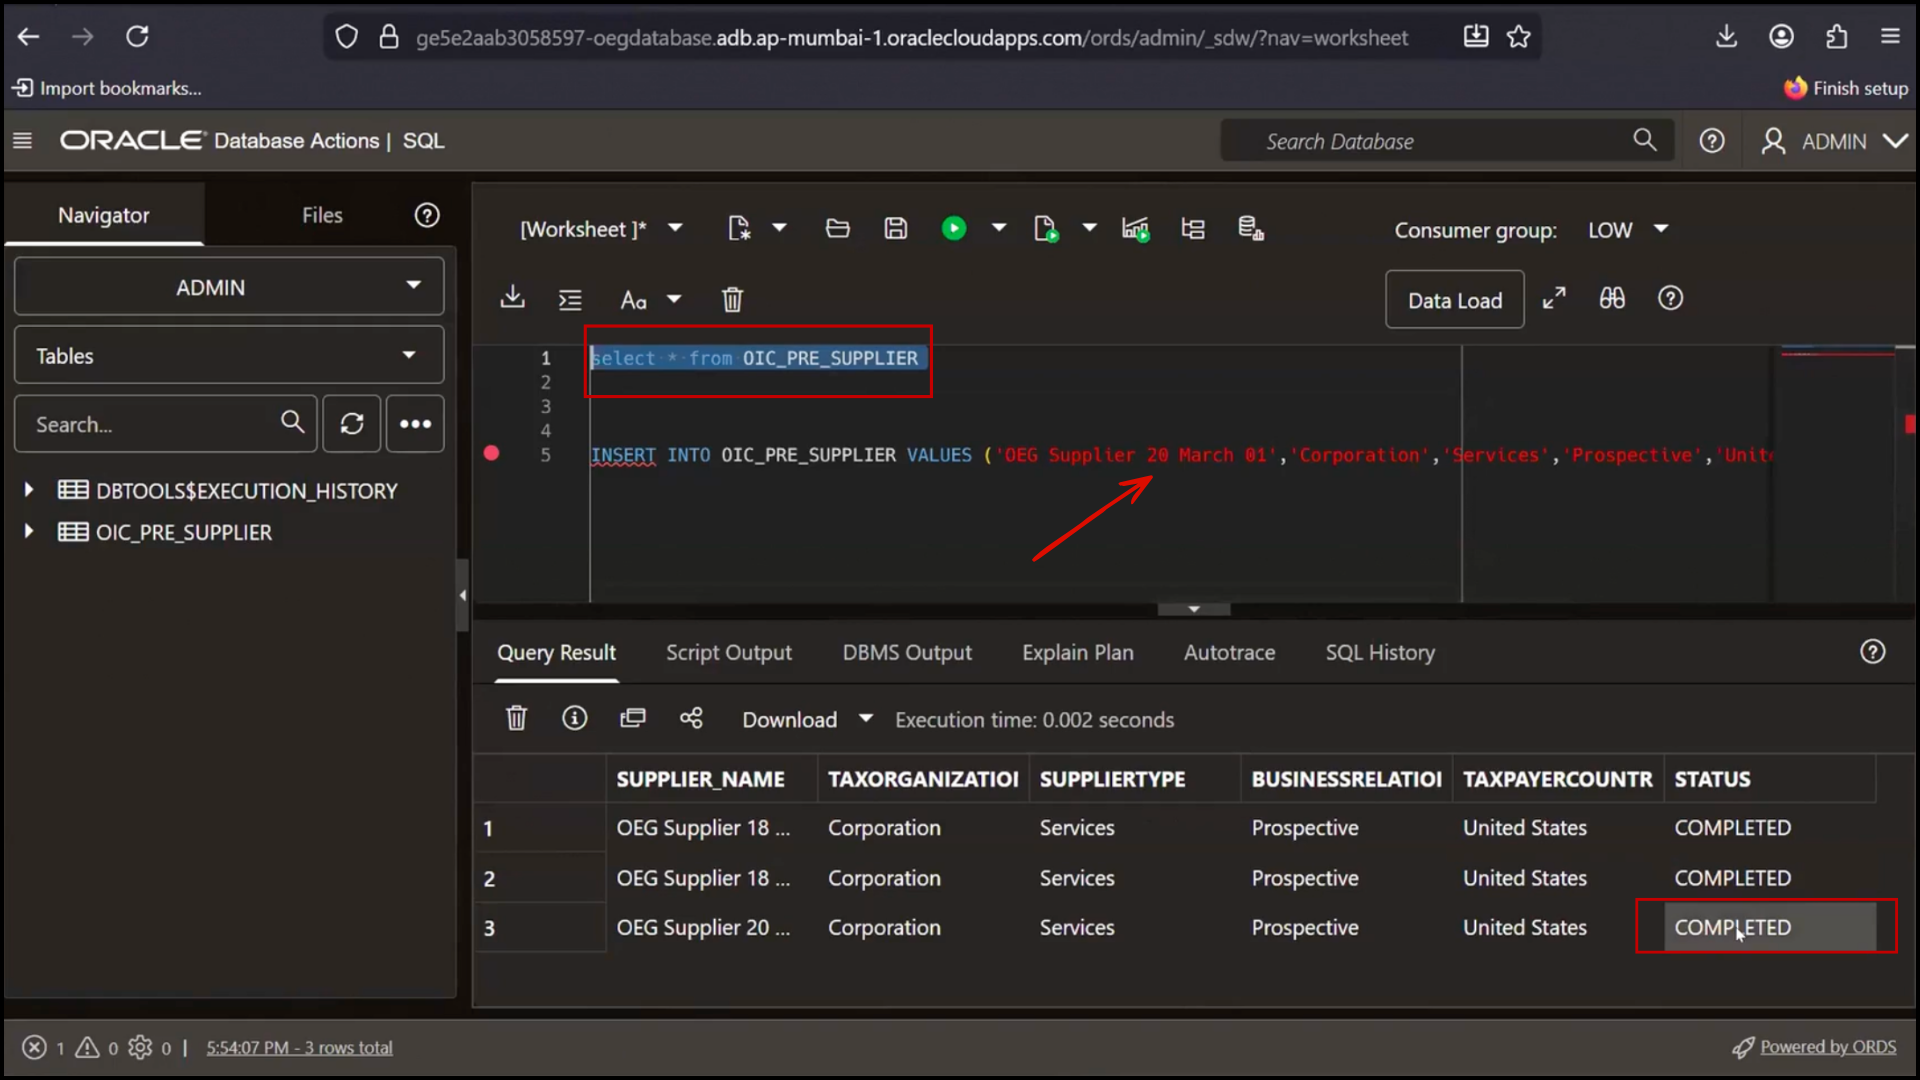
Step 5: Verify Results
Database
- Status updated from Draft → Completed
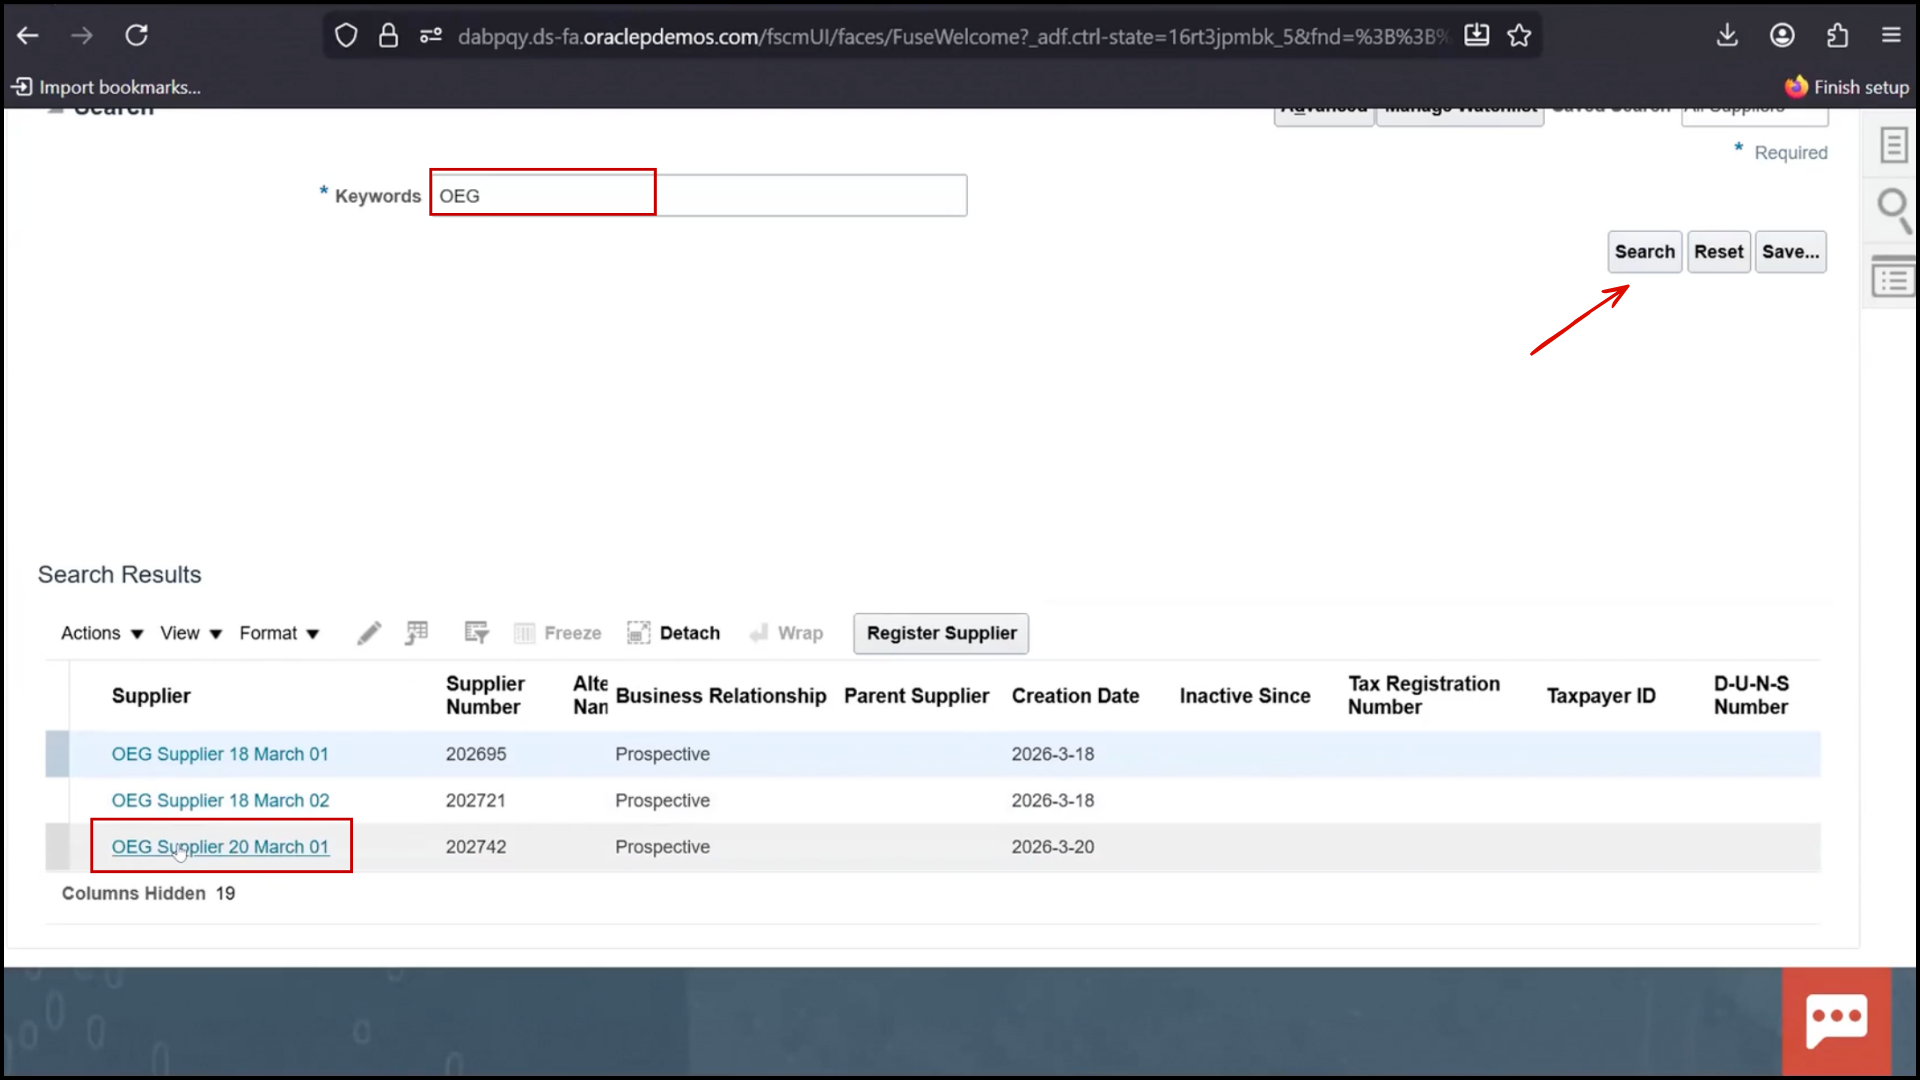
Verifying Data in Fusion After Integration
- Switch to the Fusion Application tab
- Click on Search again
- Enter keyword OEG
- Click on Search
- Verify that a new supplier (e.g., 20 March 01) is now visible
- Confirm total records increased from two to three
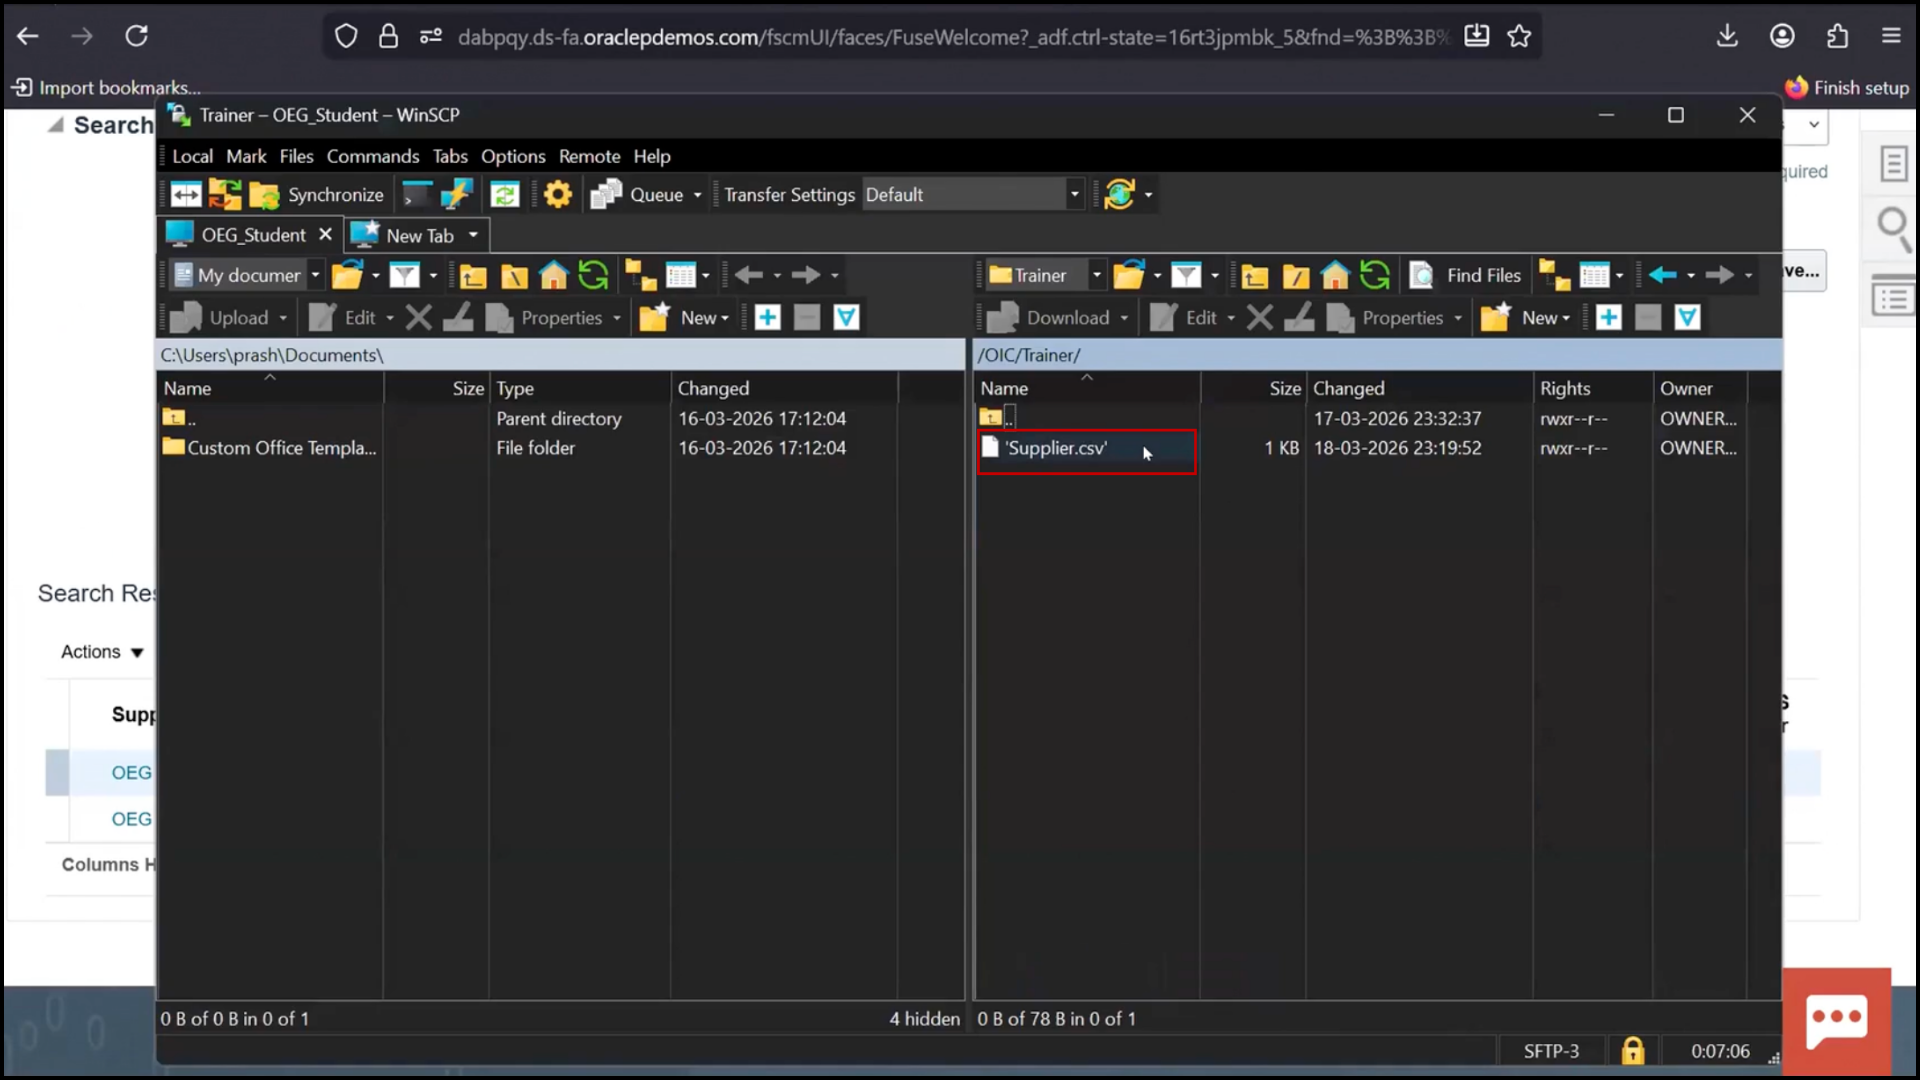
Verifying File Update in FTP
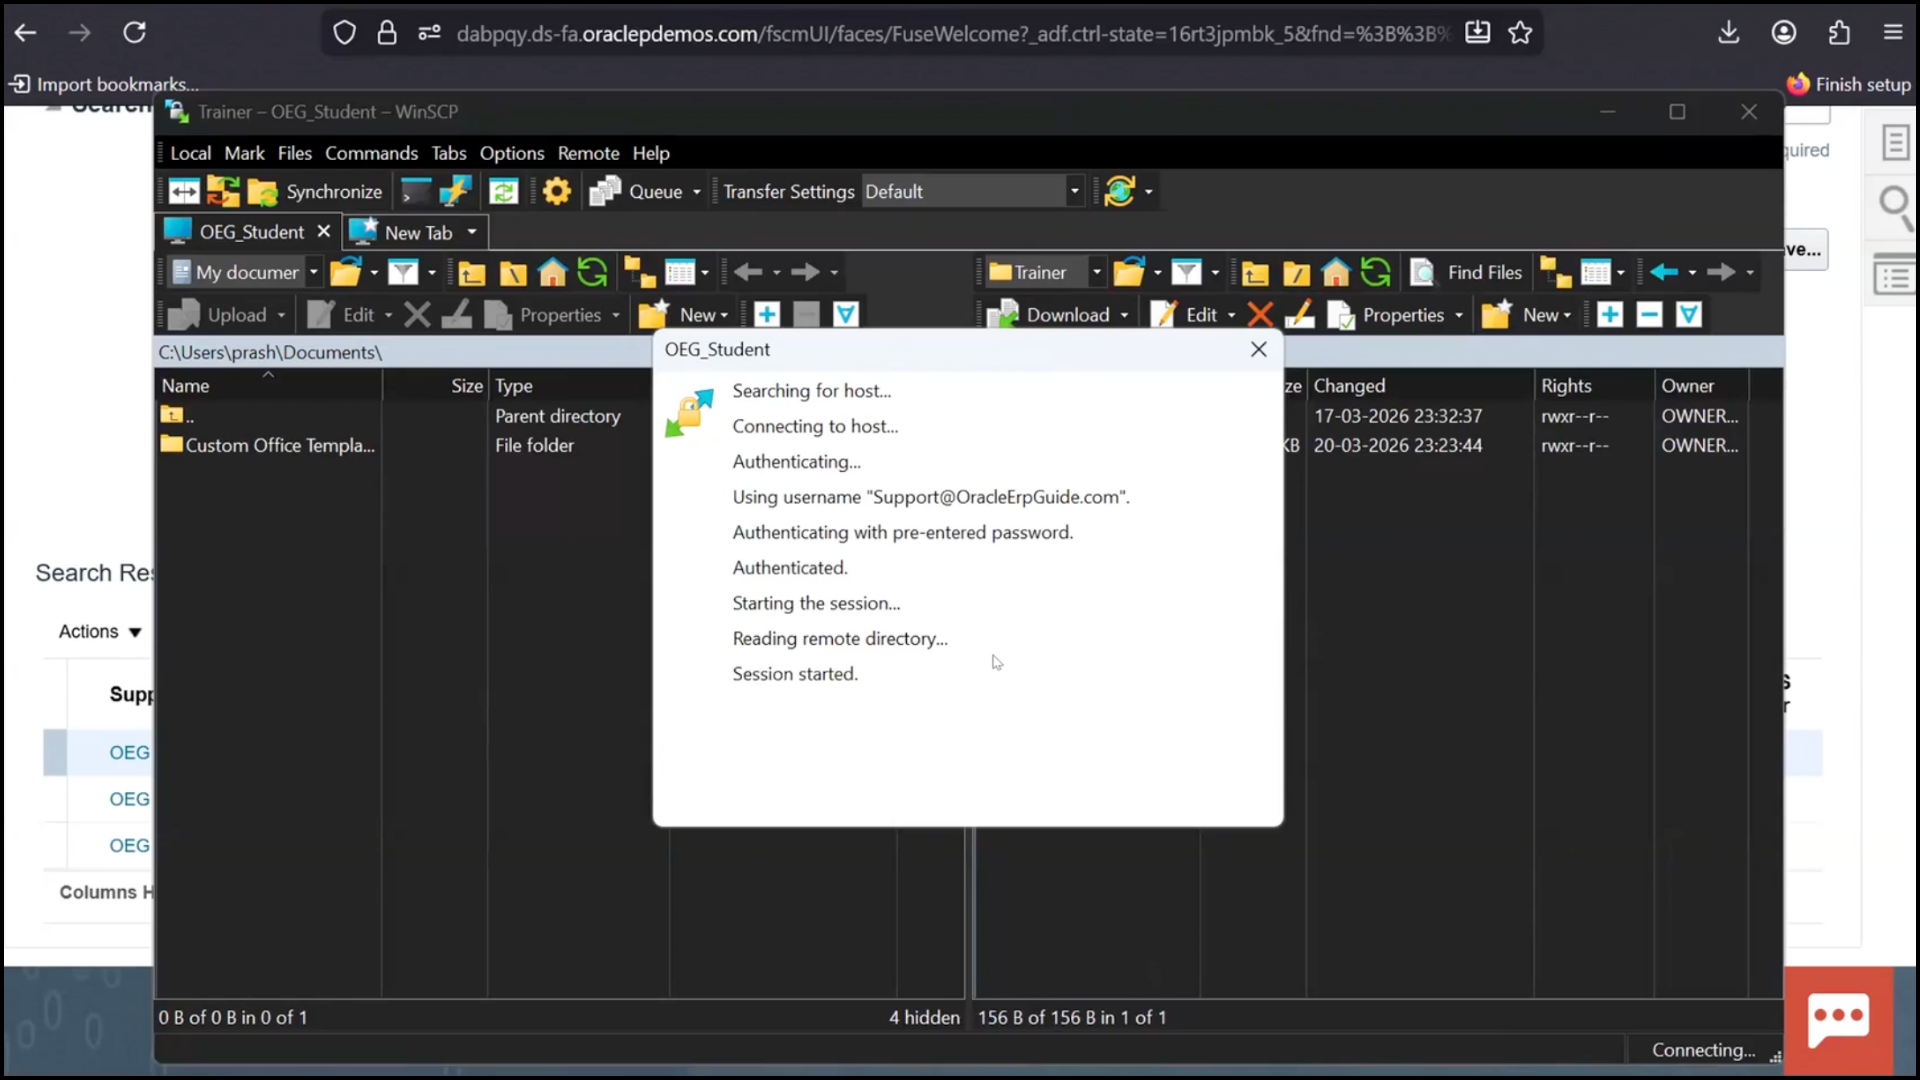
- Switch to the FTP tool
- Click on Reconnect

- Navigate to the file location after processing
- Locate the updated file
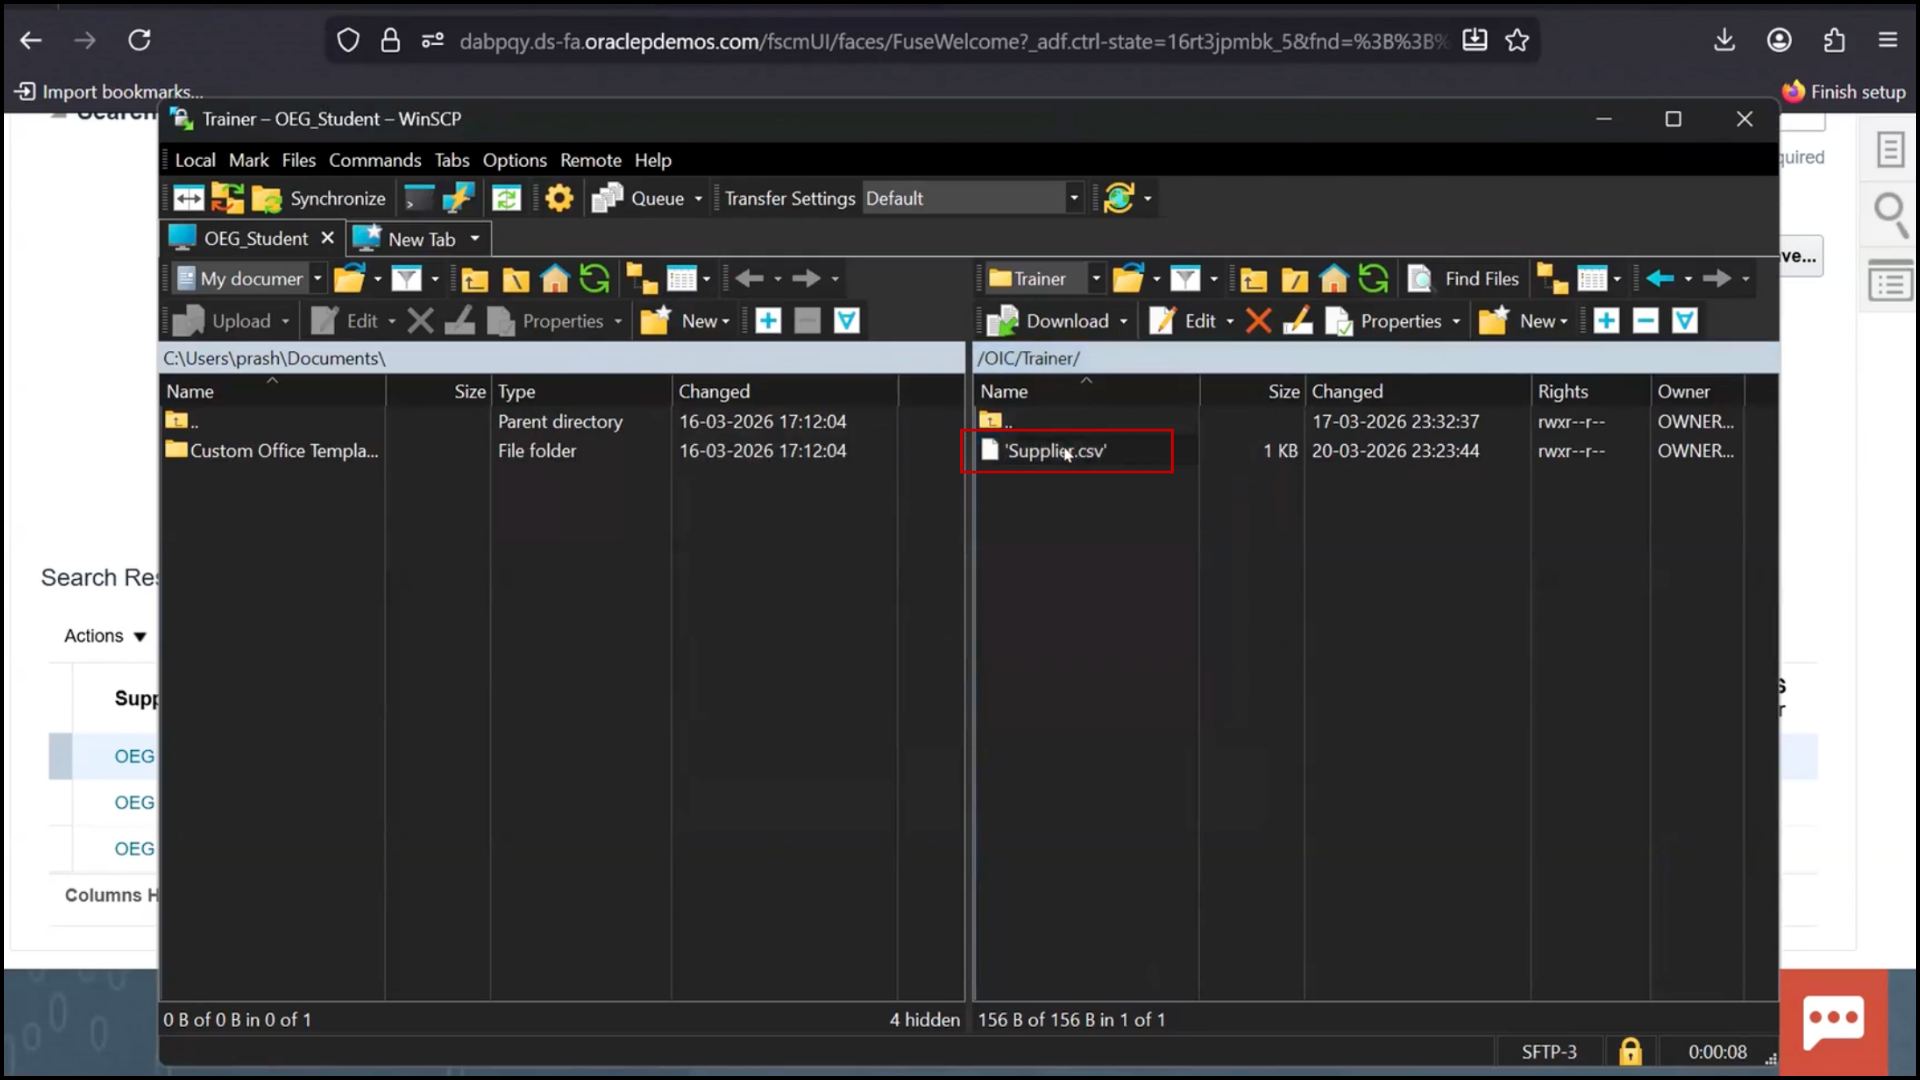
- Check the file timestamp (should reflect current date)
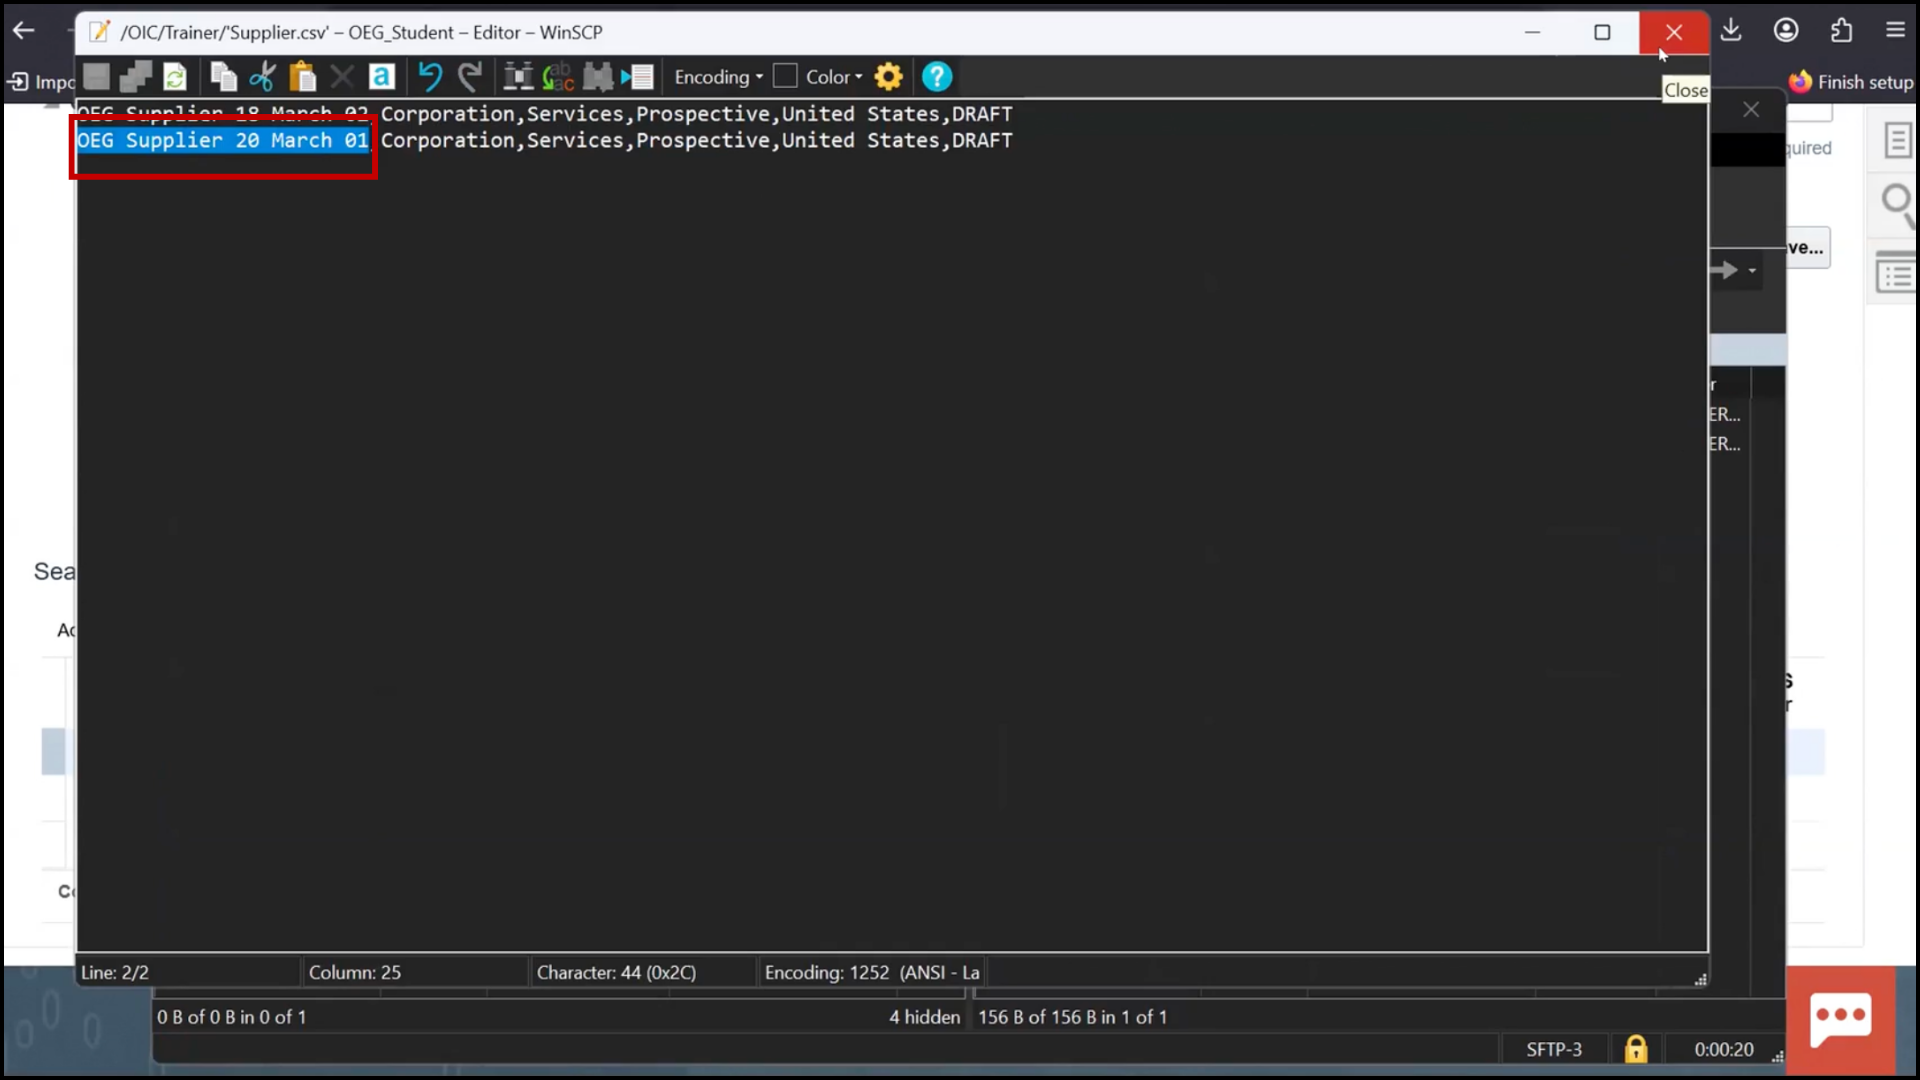
- Open the file
- Observe the file contents
- Verify that the new record is appended
- Confirm that earlier data is retained and new data is added
Final Validation
- Confirm that the new record is present in Database
- Confirm that the same record is present in Fusion
- Confirm that the same record is present in FTP file
- Conclude that all systems are successfully synchronized
- Understand that OIC enables seamless data movement across systems
- Confirm that integration ensures consistency between Database, Fusion, and FTP systems
Key Learning
- OIC reads only Draft records
- Prevents duplicate processing
- Ensures synchronization across systems
OIC Development Lifecycle
- Create Connections
- Create Integration
- Data Mapping
- Activate
- Monitor
Conclusion
This session provides a complete practical understanding of how Oracle Integration Cloud (OIC) works in a real-world integration scenario. By moving beyond theory, it demonstrates how data flows seamlessly between multiple systems using a structured and automated approach within an OIC instance.
Through this end-to-end example, we saw how a record created in a database is picked up by Oracle Integration Cloud, processed based on business logic, and then synchronized across a Fusion application and an FTP server. The use of draft status ensures that only new records are processed, preventing duplication and maintaining data accuracy across systems.
Oracle Integration Cloud Service simplifies complex integrations by offering a low-code platform with pre-built adapters, secure data handling, and centralized monitoring. Instead of relying on heavy custom development, businesses can use Oracle Integration Cloud (OIC) to quickly build, deploy, and manage integrations at scale.
This practical implementation highlights the importance of Oracle integration in enabling real-time communication between systems while ensuring consistency and reliability. Whether it is supplier creation in Fusion or file generation in FTP, every step is handled efficiently within the integrated Oracle Cloud framework.
Overall, Oracle Integration Cloud (OIC) plays a critical role in modern enterprise architecture by acting as a bridge between systems, automating workflows, and ensuring that all applications remain in sync within a unified OIC instance.